I film my videos by myself at home
I’ve had quite a few questions on how I film my YouTube videos. I’ve spent a lot of time troubleshooting my own space to make it a hybrid living space and home studio.
I originally started with what I already had: my iPhone, my photo camera, some cheap lights and tripods. I didn’t invest money into the setup until I knew I wanted to keep doing this. I tried doing incremental steps, but then had to buy better gear very quickly. My advice is to start as cheap as you can and upgrade each piece as you can afford to. Sell your entry level gear as you grow.

TL;DR
Here’s what I use today but it might not be right for you. Read below for more nuance:
Cameras: Sony FX3, with two secondary cameras (Sony ZV-E10)
Microphones: Sennheiser MKE 600 (XLR shotgun), RODE Lav, RODE Wireless GO II (for lav), Rycote Undercovers
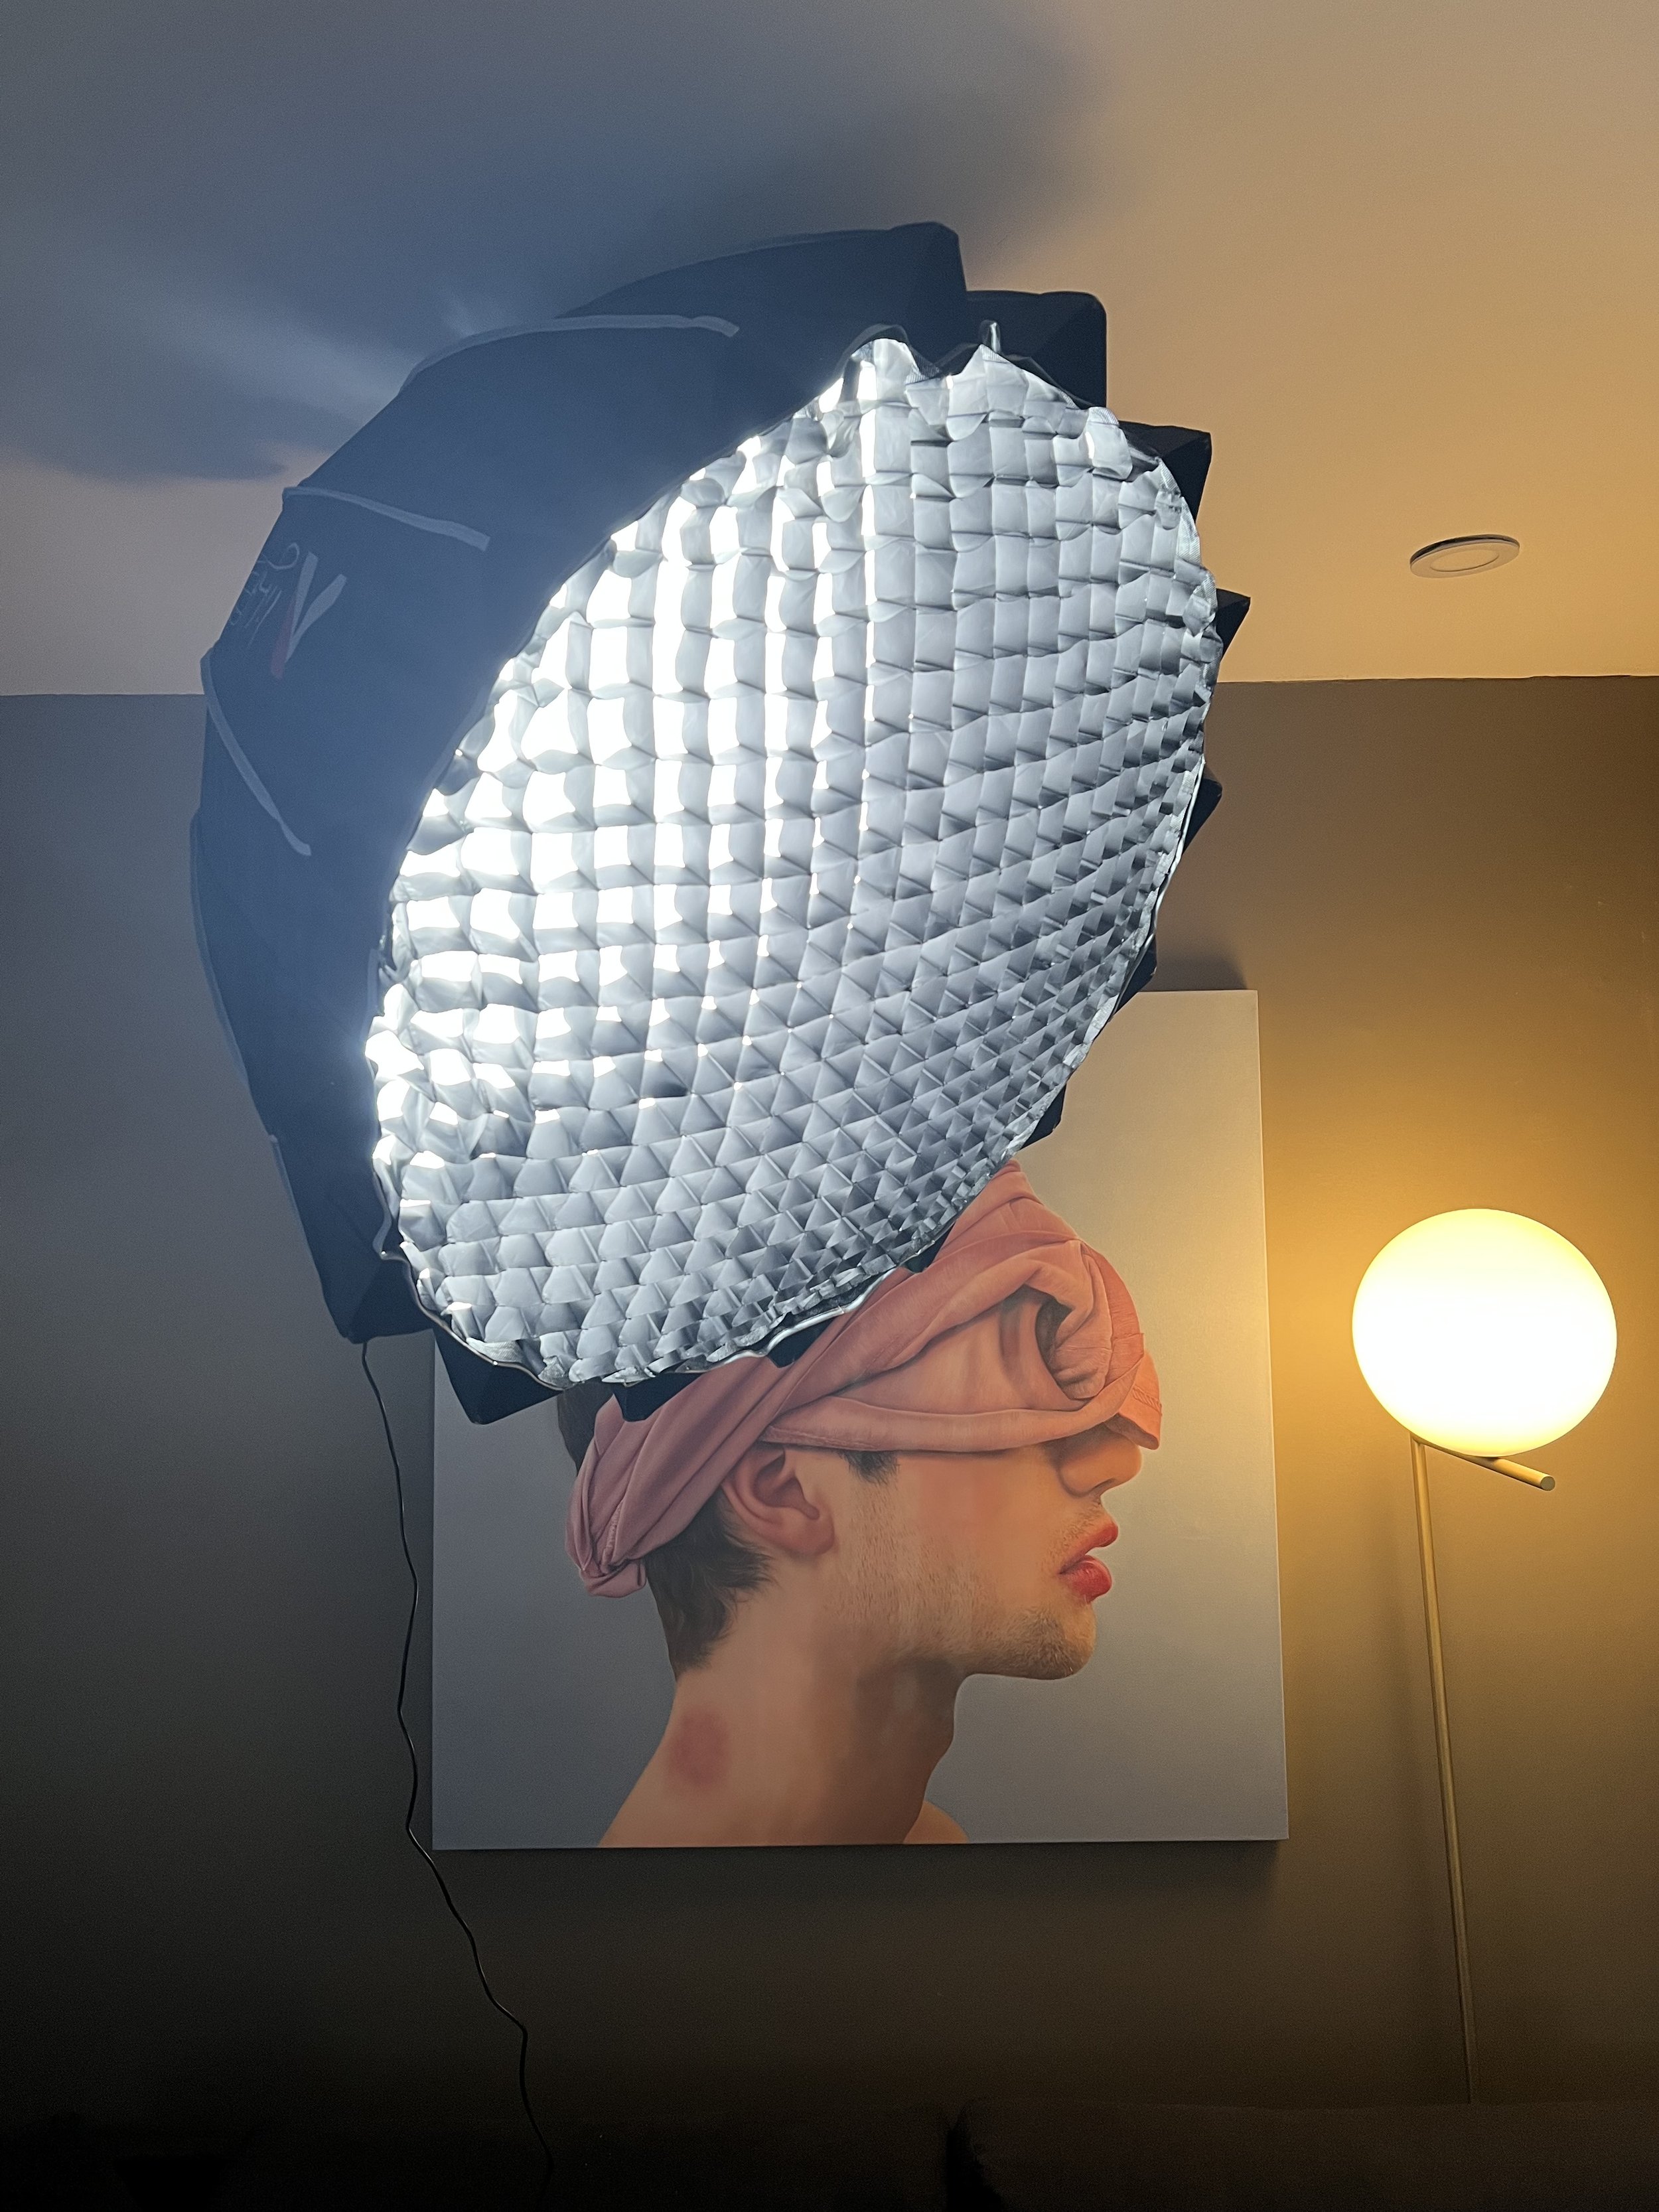
Lights: Aputure Amaran 200D/100D with a lantern softbox (for room) and large softbox with grid (on me)
Editing: Final Cut Pro X on a Mac Studio with an iPad Pro 12.9” as colour grading display using Sidecar, AirPods Max
Do these changes really matter?
In the comparison photos below you can see the difference between my Sony A7III and Sony FX3. The massive new kitchen window should have made it a harder challenge, but instead the camera captures great definition of both outside and inside.
In the A7III example you can see the reflection on the walnut panel. The lighting on me is flat, with no depth or definition. Everything has neutral depth. I’m in camera focus but not lighting focus.
In the FX3 example you can see I am in lighting focus. There is a distinct direction of light on my face. The background is muted. This was before I had a good softbox, so you can see in the shelving/on Uncle Dinosaur that there are some harsh shadows. The colour grading has more definition and richness. The camera placement is better.
Am I a better photographer now? Sure. But these photos are 3 weeks apart.

Sony A7III, Sony FE 28-70mm F3.5-5.6 lens. CFL lights in a softbox. No lens filters.

Sony FX3, Sony FE 50mm/F1.8. Only one light, Aputure Amaran 100D. Using Sony S-Cinetone colour profile. CPL filter.
I couldn’t do night-time shoots until I got a second light, the Aputure Amaran 200D. Here you’ll see the distinct, dramatic lighting effects I was able to get by using both lights. In the example from my pumpkin soup video, which was my first evening shoot, you can see the background is overlit. In my Halloween special, you can see the softbox reflecting in the window. It’s a lot of stuff to learn through trial and error. But looking at the sequence it’s pretty cool to see how these changes impact the end result.


Tripods, mounts, gimbals
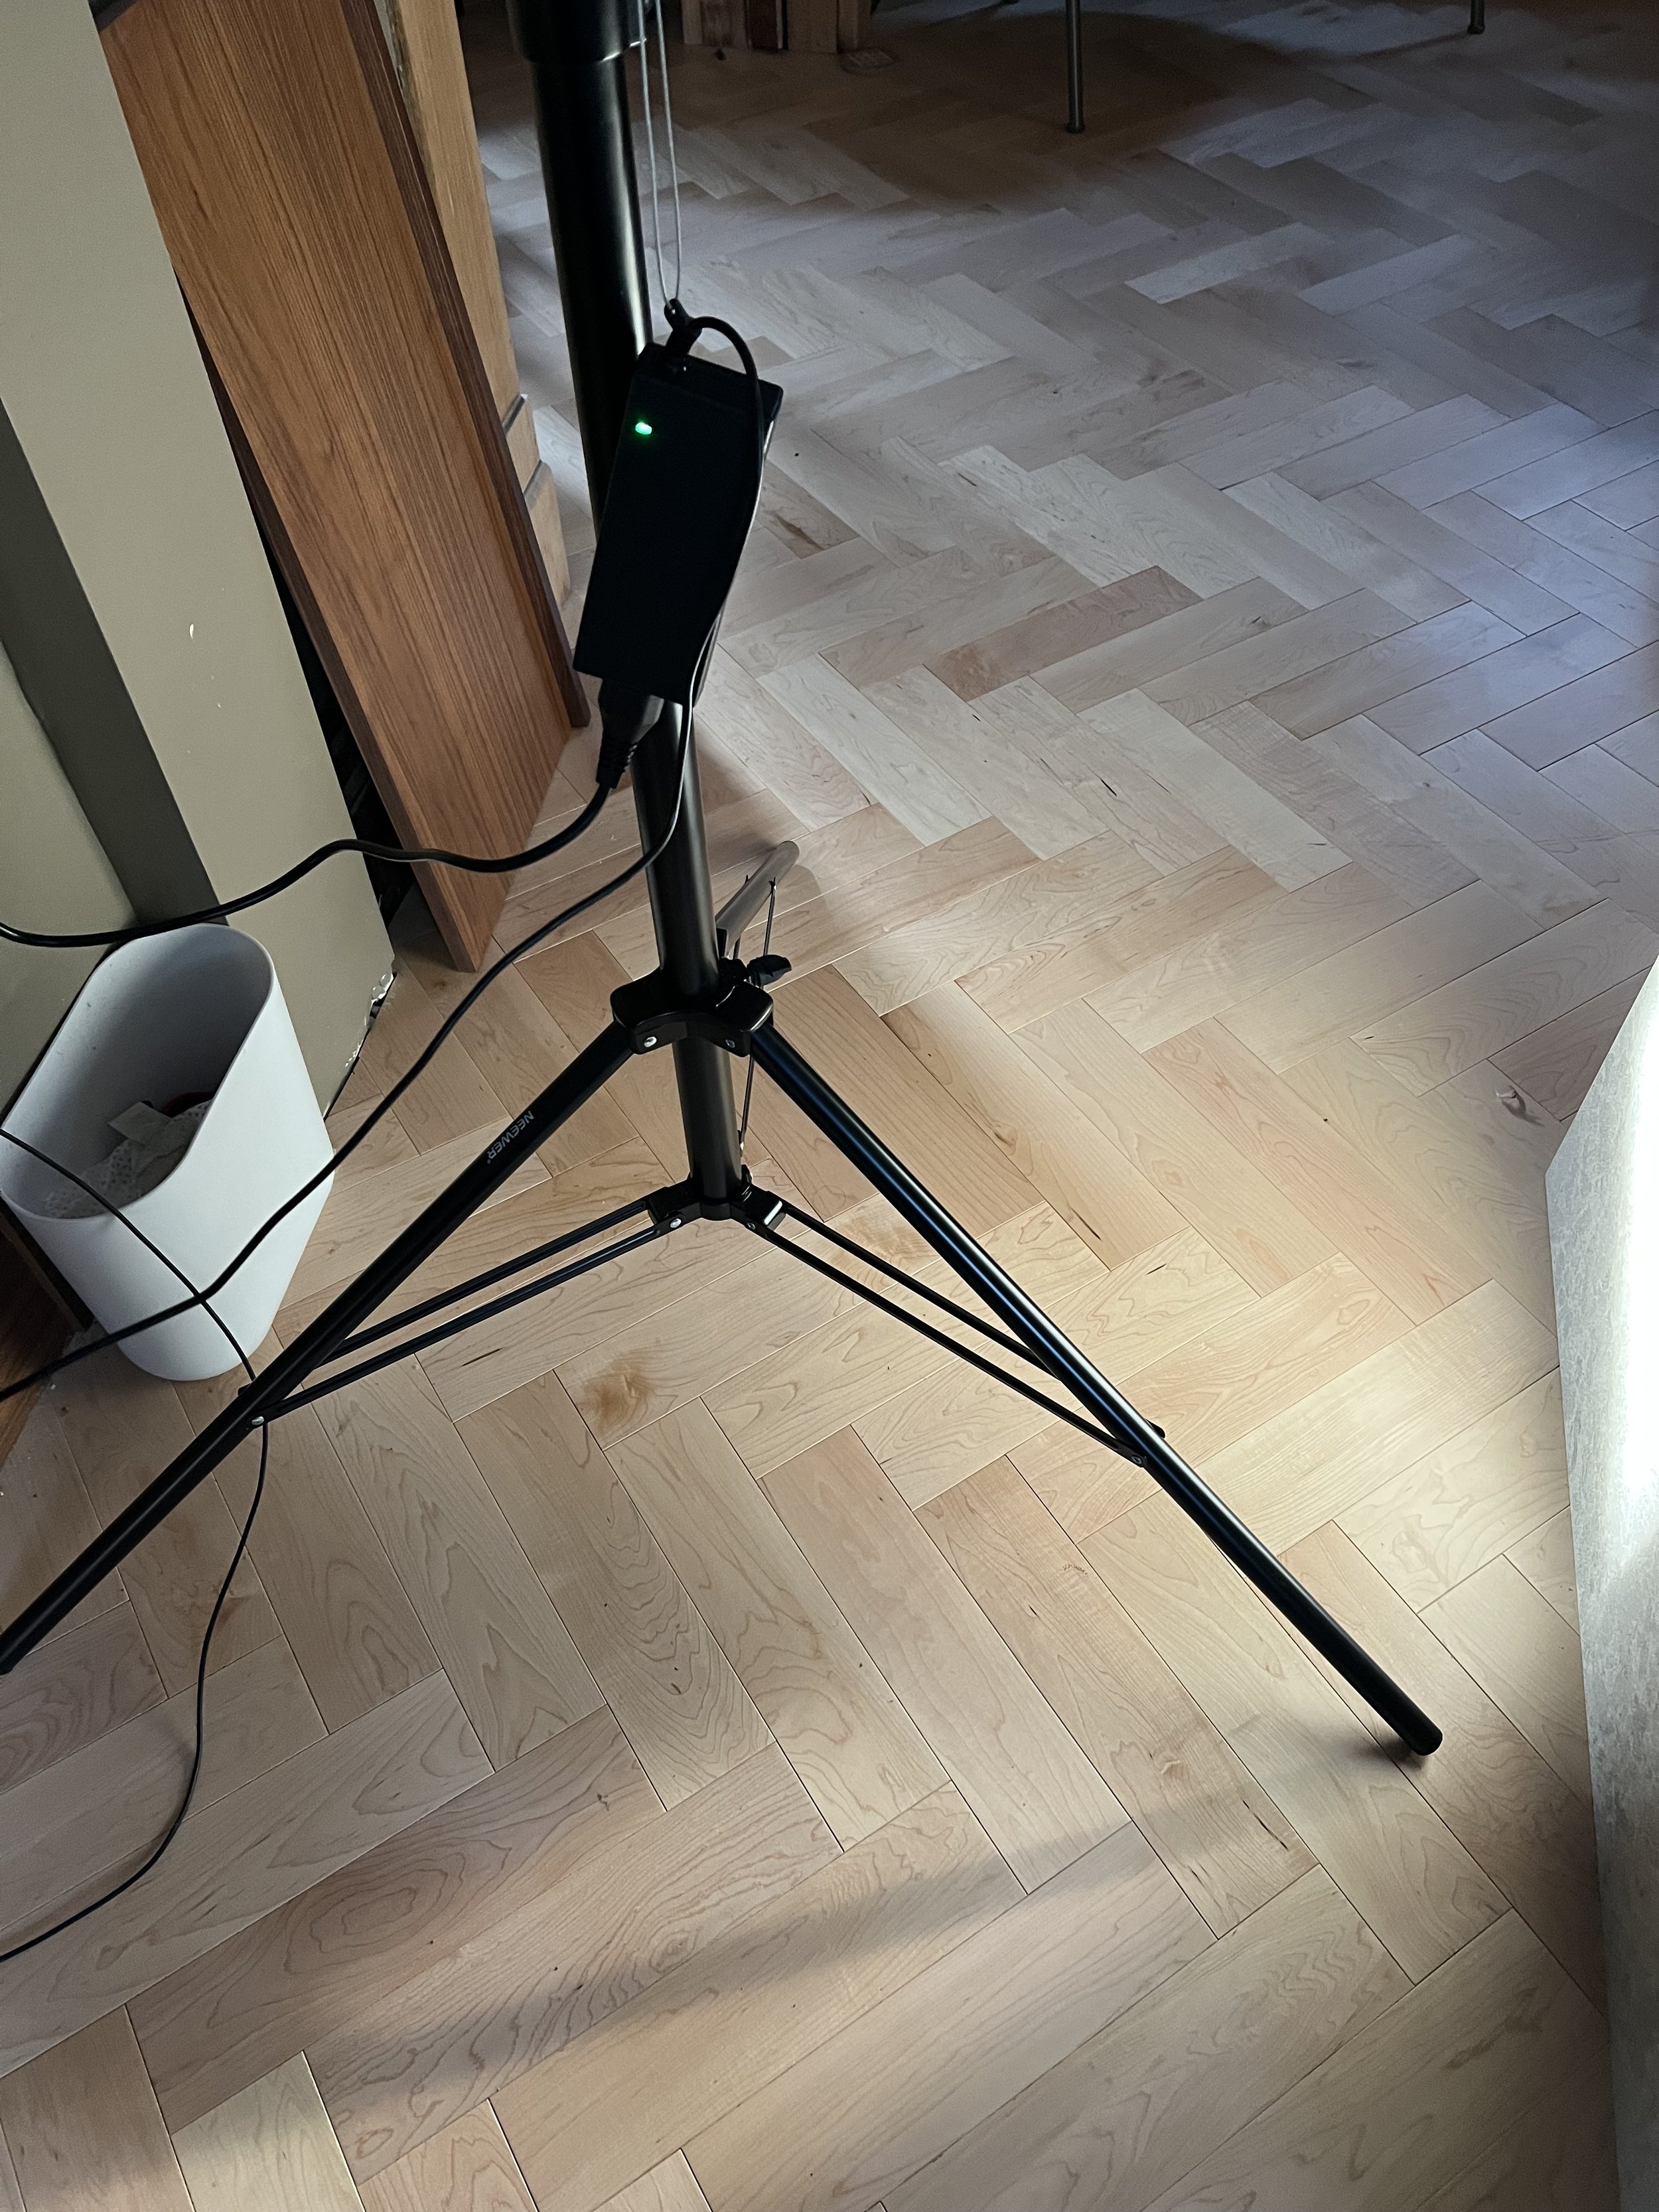
Please buy a good tripod.

Sony ZV-E10 mounted on the wall
Currently I use:
Manfrotto 550 tripod with 502 video tripod head – I have one of these for my primary camera
Manfrotto 323 RC2 Rapid Connect Adapter with 200PL-14 Quick Release Plate – I have one of these on every camera, every tripod/mount, on my gimbal, on my sliding track
I use a projector ceiling mount over my island and over my cooktop.
I have a wall-mounted tripod arm for my 3/4 angle
DJI RSC-2 gimbal
How have things changed?
Tripods have been so difficult. The Manfrotto tripod is $700 Canadian. How much better can it be than the $30 one I already have? Or the $100 tripod? The stability, predictability, ease of use, smooth precision… that’s what you pay for. With my entry-level tripod I could look at it wrong and it would move.
The Manfrotto quick release plates are very expensive to buy for every mount, at $60 each. These are life savers. With them I can quickly move my FX3 camera from the main tripod to the gimbal to the slider track and back to the main tripod. I won’t need to reset positions or plates. I can pop the ZV-E10 out of the ceiling to adjust settings and pop it back in. I can move all the cameras around to all the different tripods with ease.
I initially bought a phone gimbal and quickly realized the footage quality from my phone wasn’t what I wanted for B-Roll, so I then bought the DJI RSC2. The RS3 wasn’t out when I got my RSC2, it’s a worthy upgrade for the automatic alignment.
What’s next?
I really don’t like my ceiling mounts, they feel pretty unstable in the height adjustment mechanism and they don’t stay straight. I want to switch to the Neewer ones, they look more stable.
It would be nice to have another Manfrotto tripod, for example to film B-Roll in the oven, without needing to move it around and reset the placement. I think since the primary camera is generally in a fixed position, I might move it to a ceiling mount down the road, but that would interfere with my dining room pendant light, and this is still a living space.
Lighting
I wish I would have invested in better lighting, and learning lighting, first. Good lighting can make the cheapest camera look amazing. Even the best camera won’t save you from bad lighting. If you’re filming in your living space, learning to control natural light is going to also be a challenge – particularly if you want to have consistent lighting over long shoots or multiple days/re-shoots.
TL;DR: Buy really good lights. This is your #1 area to invest in.

The ceiling mounted lights are pretty unobtrusive day to day
The soft boxes are very in the way
I had stands everywhere before, making it impossible to walk around the kitchen – like to start/stop recording!

Sunlight is fun
Currently I use the following:
Aputure Amaran 100D with Aputure Dome softbox and grid – this is the soft light on me
Aputure Amaran 200D with Aputure Lantern softbox – this lights up the kitchen
I use a large diffuser from my 5–in–1 reflector beside the lantern to further soften the light that hits the side of my face.
Neewer Ceiling Mount 5/8” stud with 1/4” thread – I have these screwed into my ceiling joists
Environmental lighting
I have a lot of big, beautiful windows in my living space which is great for living and terrible for video.
I have a black-out roller shade on my side door, which creates reflections on the oven during time-lapse
I have a diffusing roller-shade mounted in the ceiling in front of my front door. This door is perpendicular to where I stand in the kitchen. The sun sets there in the summer, which creates very intense, harsh light from 3pm–9pm.
I have an exterior shade and blackout shade for my kitchen window, which is behind me on video, since the sun rises in that video and the light changes from harsh to soft from 8am–12pm.
Reflections
I live in Canada, so in the winter Golden Hour happens at 3pm. I’m not a morning person, so it’s very difficult to film in daylight in the winter. However my big window is perpendicular to the camera, so it’s a haven for reflections. The solution was to hang a black strip of fabric behind me to block the reflections in the top window.
How have things changed?
Early only I tried my home lights (LEDs interact funny with shutter speeds) and the colour grading was terrible.
I had some old CFL bulb softbox lights from doing some talking head videos at work. These weren’t strong enough and pretty limited, but helped me understand what I needed.
I then bought some way-too-small LED panels. These were cool but hard to use.
If I could go back in time, I would buy the Aputure Amaran 200D and a softbox. But I didn’t want to spend the money. Good lighting is worth the month.
Originally I had my lights on cheap stands, which promptly fell over. I then bought heavier stands which are huge and created tripping hazards as I ran from the kitchen island to the cameras. I had to move my couch out of the way to set up the stands. It was awful. Now they are permanently mounted in the ceiling, consistently in the space space and ready to go.
What’s next for lighting?
I need a third light to light scenes at the cooktop and even out the light behind me in the primary scene, but that will come later. I will likely get another Aputure Amaran 200D. It’s very difficult to move the lights around since they are mounted in the ceiling (9’ ceilings), so having another light I can put on a stand and move around as needed will be very helpful.
I want to explore daylight simulation for B-Roll and photography, so I need to make some diffusing grids to simulate windows.
Monitors
TL;DR: There aren’t a lot of good, cost effective solutions for wired monitoring as most camera monitoring is designed for field use. I need to find better solutions here.

Currently I use the following:
A Neewer 7” monitor
A PortKeys LH5P MARK II
My MacBook Air with an HDMI adaptor that enables me to view the camera footage as a webcam
RavenEye which I use to remotely monitor the camera on an iPad when using my gimbal
How have things changed?
Originally I used my TV as a monitor, but I’ve since moved it so it’s no longer visible from the island. I used an old Dell monitor I had from work. And I used my iPad as a monitor when I was using my iPhone as the overhead camera.
These all had problems. The TV settings weren’t correct and didn’t match the final output. The Dell monitor was low quality with bad colour representation.
I don’t like my monitor solution today, either. The Neewer monitor was cheap but its very flakey.
The PortKeys monitor was very expensive, I bought it because you can fully control all the settings on the camera (aperture, ISO, focus, start/stop recording, etc). This works when I’m only filming overhead, but in a larger shoot it’s easier to hop on the island and adjust. I should have returned this but I did not.
I had explored getting the Atomos recording monitor, but to add all the remote controls it ends up being ridiculously expensive. I suspect I’ll end up there eventually.
What’s next?
I don’t have a good answer here. I’m tired of spending money on it.
Power and cable management
Power management has been the bane of my existence.
TL;DR: buy a lot of really long cables.
Currently I use the following:
Really long USB cables
High power USB power adaptors
Really long HDMI cables
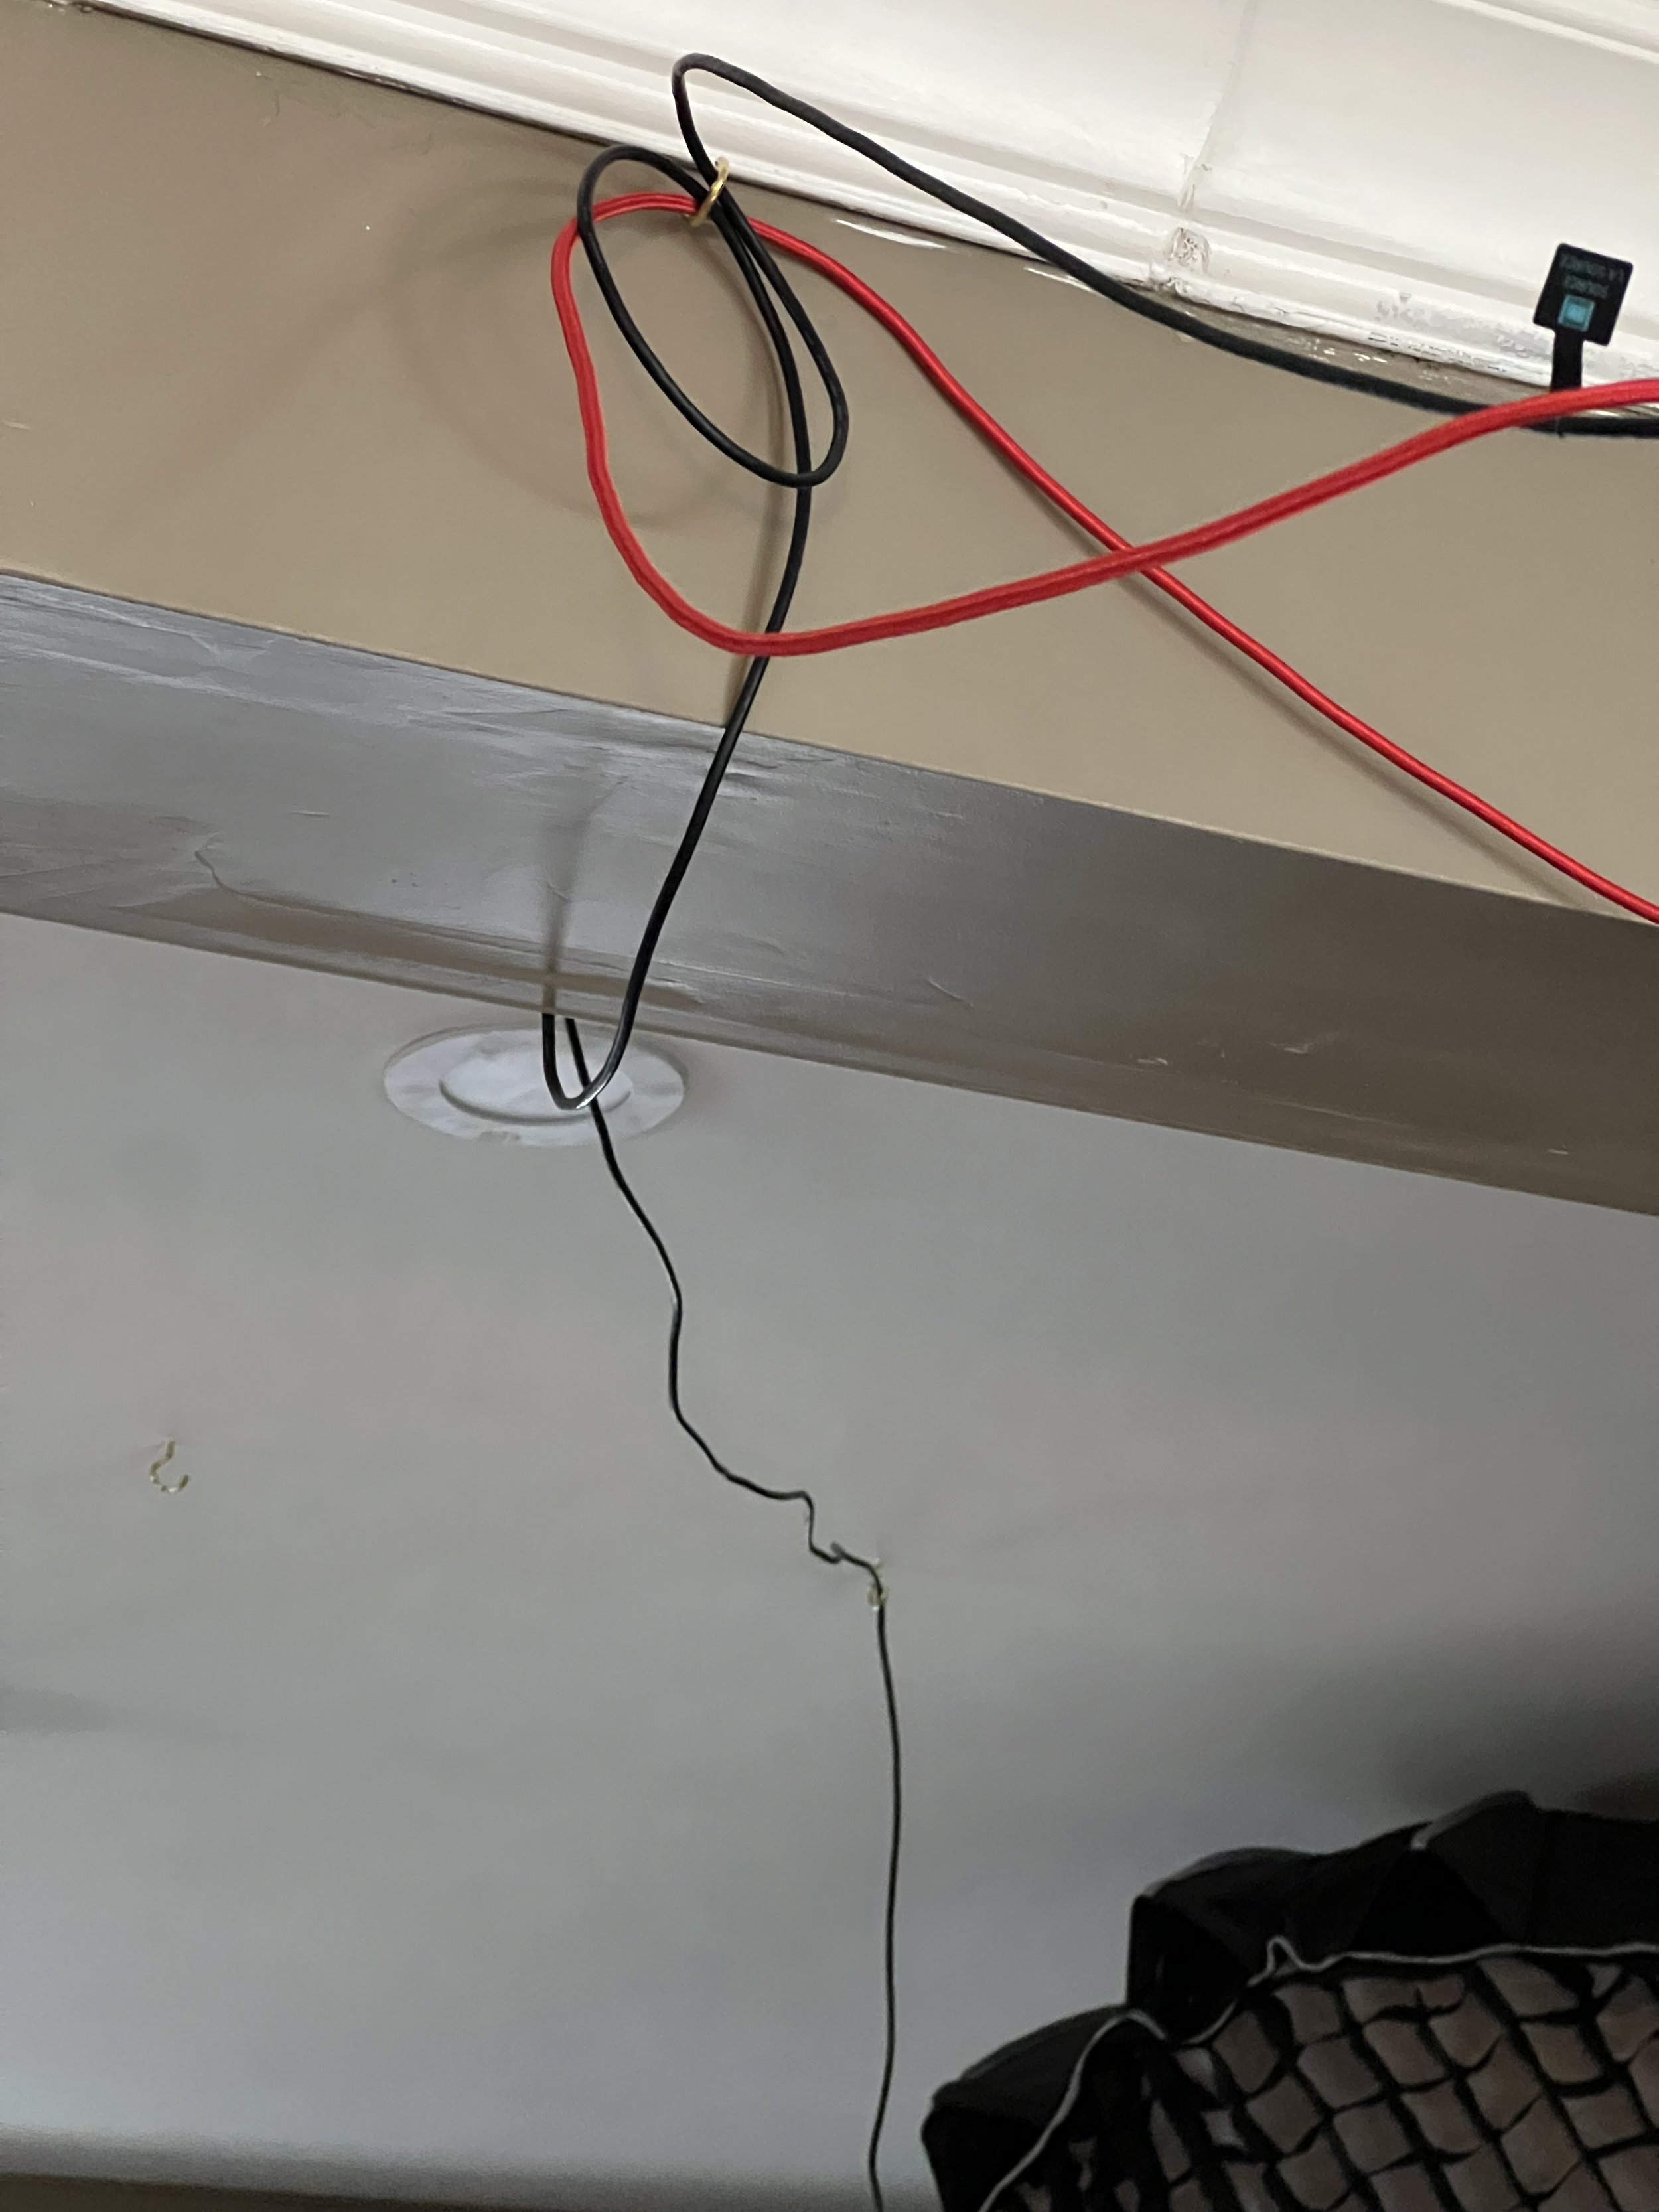
I have the cables routed around my ceiling using screw-in hooks
A battery charging case for my wireless mic setup
Large Sony-compatible batteries for my monitors (I need to buy power adaptors)
How have things changed?
Starting off I worked off batteries. This led to losing a lot of footage when batteries died. Waiting for batteries to charge. Endless frustration.
Next I used basic USB power sources, first 3w USB outlets, then 5w adapters, even 9w adapters. These couldn’t power the camera and charge the camera at the same time. It felt like a solution but eventually the batteries still died during a shoot. I found I need a least 18w chargers to ensure continuous power delivery + charging, without overheating the camera.
I’ve moved things around a lot, so I’ve been placing little hooks in the ceiling to route cables around. I think I’m at a point where I’m happy at the mix of power-management, cable location for daily life, and consistency, so I might move these into permanent, paintable cable channels soon.
What’s next?
For my cameras I want to buy battery-pass-through plugs but those are quite expensive.
For my monitors, I need to buy adaptors. It’s not clear which to buy. It’s disappointing they can’t be powered by USB. The adaptors are more expensive than I’d like.
For cable management, I want to use those paintable channels now that I have fairly permanent locations for the cables, so they are more invisible in daily life.
Audio
People will stay through bad video, but they will not stay through bad audio. Getting audio quality right is key to great video retention. I am still learning how to do this well.
TL;DR: buy the best microphone you can afford, but also there is a lot of nuance.
Currently I use the following:
Most often: Sennheiser MKE 600
On body: Rode Lav Mic
Rycote Undercovers, which are a 2-sided body-safe sticky-tape and fabric lav covers which minimizes fabric rubbing noise under a t-shirt
Rode GO II wireless microphone transmitter/receiver
Backup audio: Rode Micro Shotgun Mic on my 3/4 camera as back-up audio
Backup audio: The built-in camera mic on my overhead camera for mutlicamera syncing
AirPods Max for editing
What’s changed?
Starting off I had no microphone, which was hilarious. My first mic was the Rode shotgun. It’s very tinny and echoey, particularly in my open-concept kitchen filled with hard surfaces.
When I got the lav mic, originally I had it clipped on my t-shirt collar but the sound was bad. I learned you should have it on your sternum. I didn’t want a visible microphone, so I explored a few options and settled on the Rycote Undercovers which tape directly to your chest. I still deal with a lot of fabric rubbing noises in post production, but its mostly workable.
I bought a Bubblebee silicone lav sleeve/clip, it doesn’t work great. I think it actually makes more fabric rubbing noise than the Undercovers.
Mostly recently I bought a Sennheiser MKE 600 shotgun microphone which I have mounted on a stand in my ceiling. I also bought some really strong hooks to hang quilts from my ceiling to reduce echo. This has really increased sound quality and my confidence since I’m no longer stressed about the lav mic. It has new issues, like I need to figure out how to reduce room noise now, but overall I’m very happy with the investment in it.
What’s next?
I am also exploring some better lav covers, but they’re surprisingly hard to get in Canada (like Bubble Bee).
I need a good pair of wired monitoring headphones at some point, but they’re also difficult to incorporate into my workflow since I am filming myself. Right now I’m connecting my camera to my iPad Pro through USB-C and reviewing the clips in the Files app on my AirPods Max.
I need advice on audio quality, so if you have advice please share!
Storage and computers
There are so many weird things to learn
TL;DR: I use a Mac Studio for editing with an iPad Pro (12.9” with XDR display) for colour grading.
SD Cards
SD Cards are graded based on their speed. Most these days are UHS-III cards, which enables a read/write speed of 70-150mbps. This is fine for 4K footage at 30p. To film slow-mo, like 4K120, you need a UHS-III card which is up to 300mbps.
I have half a dozen 256gb SanDisk Extreme UHS-I cards for regular footage, they’re affordable and reliable. I have a 64gb UHS-III card because they are very expensive, and I only use it for slow motion.
Computer storage
You need so much storage. I kept buying little hard drives and eventually bought a Sandisk 14TB external drive. I wasted so many hours waiting for files to transfer back and forth.
Because I’m filming multi-camera, 4K footage, it’s very difficult to work off of low-power external drives.
I backup everything offsite using Backblaze, which I’ve been using for a very long time. It’s automatic and just works, including for external drives.
Computers
I was originally working on an M1 MacBook Air, which is sufficient for single camera work but not great for multi-camera work. I now use a Mac Studio. The Mac Studio has been a game changer in terms of multi-camera performance. When I got my MacStudio I thought that 2TB was enough internal storage, I regret not getting at least 4TB, because I’m frequently working on multiple videos. Final Cut Pro loves to create enormous proxy files and render files.
I do most of my writing and planning on an iPad Pro.
Computer Screens
I have a Dell monitor as my primary display for my computer and I thought it was fine – but every time I published a video it ended up really dark on my iPhone, which of course I only found out after I published it.
I bought a 12.9” iPad Pro with the XDR display, which I’m now using as a second display for my Mac Studio using the Sidecar functionality. The only the 12.9” iPad Pro has an XDR display (at least, in the M2 configuration as of this writing in 2023). On your iPad, in Settings › Display you can also turn on Reference Mode, which turns off all of Apple’s automatic display colour temperature and brightness management. This has made a huge difference in my ability to accurately colour grade my footage and have it look good on my computer, phone, and TV.
Software
I use Final Cut Pro X (FCP), which is very expensive. Everything here is expensive, but FCP feels especially egregious given that DaVinci resolve is free. But I love Final Cut and it helps me work very quickly.
If you plan to have multiple cameras, like I do, FCP has an automatic multi-camera sync feature that uses camera audio to magically align multiple cameras into a single, editable timeline. This means I can select my overhead camera, 3/4 angle, and primary camera, click “make Multicam clip” and it does so within seconds. I don’t need to match hardware timecodes, I just need to remember to clap. When editing, as you trim a Multicam clip you can switch between camera angles with one click and everything stays full lined up. It’s magical and so fast.
FCP also has a beautiful magnetic timeline, which is super fast for editing, particularly if you get used to using compound clips.
I am not great a colour grading in FCP yet and that’s something I want to learn. I also don’t really know how to use motion effects or plugins very well.
All of my text overlays and graphics are made in Adobe Illustrator, exported as PNG, and dropped as layers on my video timeline. It’s not sophisticated, but it’s what I know how to do quickly.
Exporting
Every video platform has its own quirks and how it will compress your video and audio. I’ve found that YouTube shorts in particular will make your audio sound like it’s recorded under the ocean. I’ve started exporting in Apple ProRes 422 (Rec 709, Linear PCM) instead of H264, primarily to keep audio great.
I also do YouTube in 1080 instead of 4K so I have greater flexibility on cropping in on my footage. At 1080 I can crop in 200% without loss of fidelity, and sometimes get away with 300% if needed. Maybe down the road I’ll upgrade my cameras, but this is sufficient for what I do today.
QA
Sound and colour change dramatically on every device. I found that my iPhone tends to darken videos quite a lot. I’ve started QA-ing the videos after export on my phone. Occasional I use my iPad in Sidecar mode when I do my colour grading.
It’s important to check on quality headphones for things like breath noises and stomach gurgling, but it’s also important to check on your phone speaker and cheap headphones.
Physical storage and other notes
There are so many things to put away
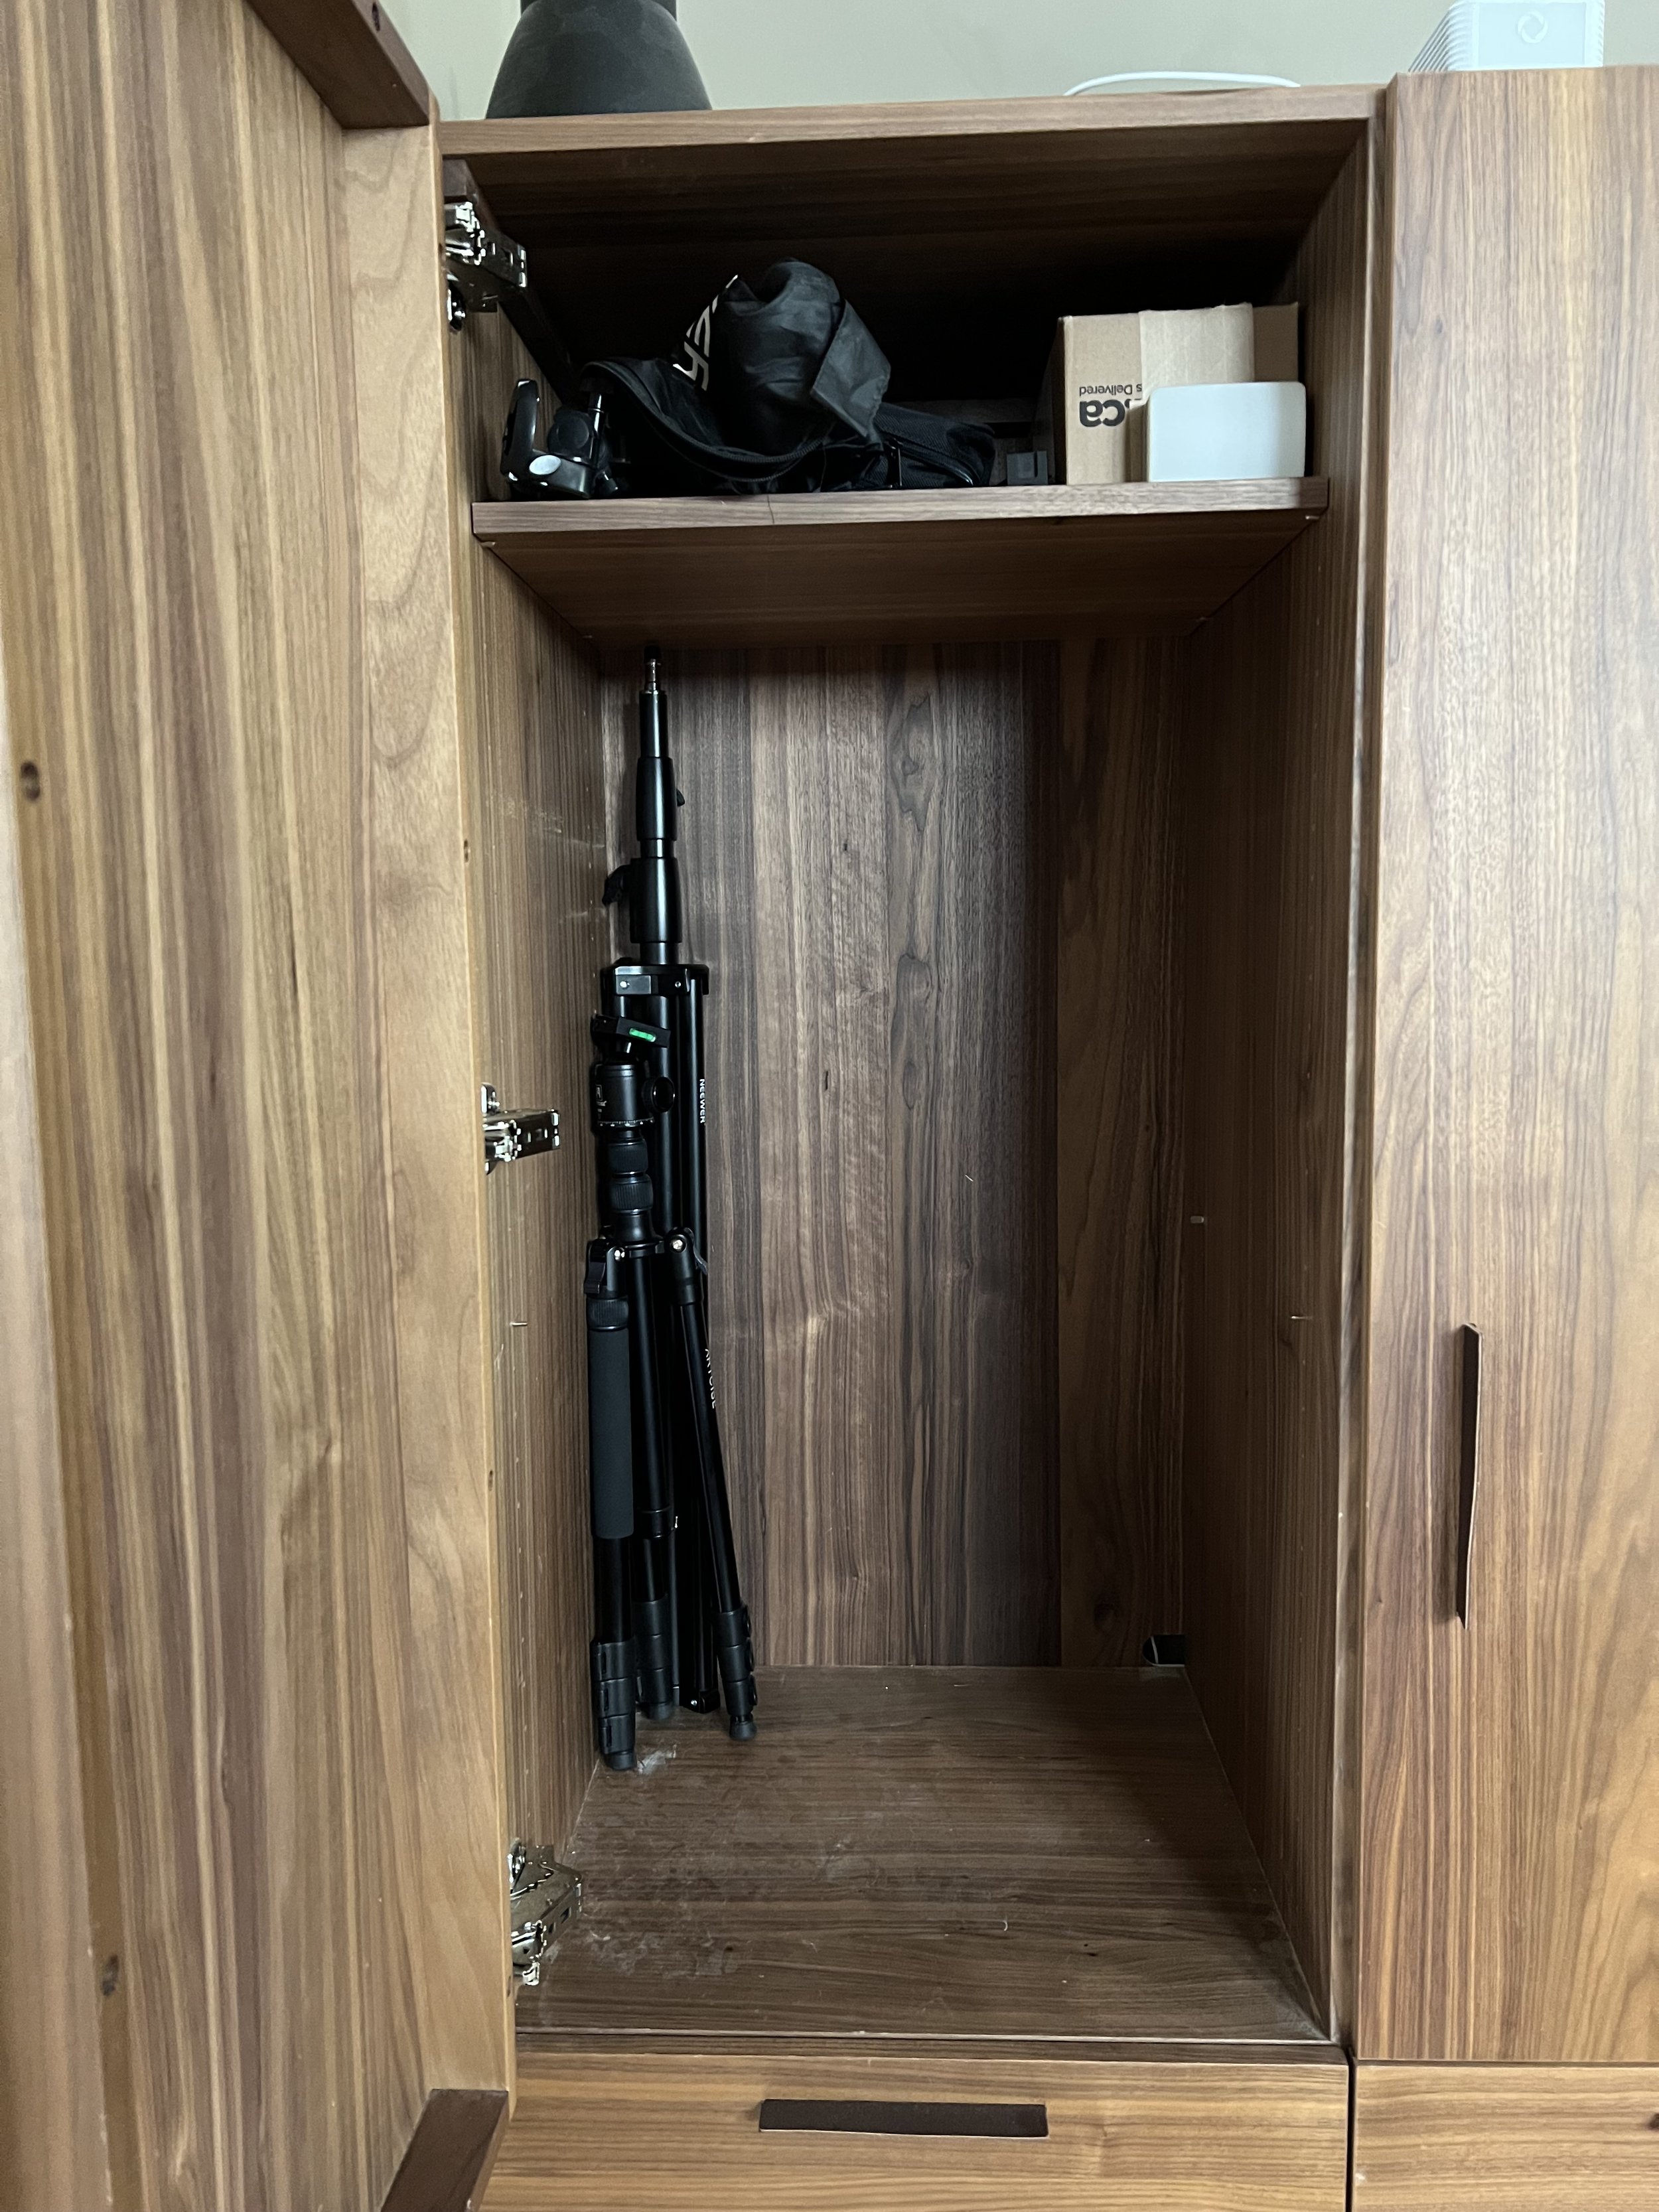
Storage cabinet
Studio equipment is huge when assembled. I ended up using my bar cabinet to hide everything. When you collapse tripods, soft boxes, etc. down they can fit away pretty easily.
Teleprompter
I purchased the Neewer teleprompter for iPad and it works great, but I don’t like how I act with a teleprompter so I’ve only used it for non-food work. I used the Teleprompter Pro app for iPhone/iPad/Mac which is excellent, but expensive.
Challenges filming alone
It’s me. Hi. I’m the problem, it’s me.
Being your own editor
I’m a writer first, video person second. Editing video is hard for me because I want to tweak my own performance, which I can’t do. Learning how to let go the self criticism and accept “good enough” is quite difficult. I’m getting a bit better each video.
Perfect is the enemy of good
There’s a quality bar I want to meet, and then there’s perfectionism. In my The Last of Us inspired video, I had so many little game mechanics I wanted to add in. For fun, for me. I had a whole workbench scene with mix-ins. It was game accurate, helpful, and fun. But I also ran out of time and it wasn’t what would make or break the video. And even with all that work, after 3 months that video only had 200 views anyway. I’m still very proud of it and not entirely sure why it flopped.
Censoring yourself
The hardest part beginning this journey was censoring myself from who I am. I had originally filmed Focaccia for the Lazy and the Forgetful as the title. It’s funny. I removed it from the video. You can see it took a dozen videos for me to embrace who I am. Who I am is weird and funny. With Dracula jokes.
Technical challenges
I’ve mentioned the technical challenges like not knowing if a camera is still on, or if the audio is working. There’s also sequencing challenges – remembering to stop for B-Roll. Remembering to stop for photos. I’m working to find this as a better routine and to include more quality photography while I’m recipe testing so it’s not always a mad dash at the end.
Checklists could help, but I have to remember to stop and check the checklist.