
Chickens can save the planet
4 days on a regenerative chicken farm, alone
April is Earth Month, and this month I’m writing about sustainability efforts in the kitchen. This week is the day in the life of a regenerative chicken farm.
Probably Worth Sharing is a reader supported publication. Please consider a paid subscription to support my work.
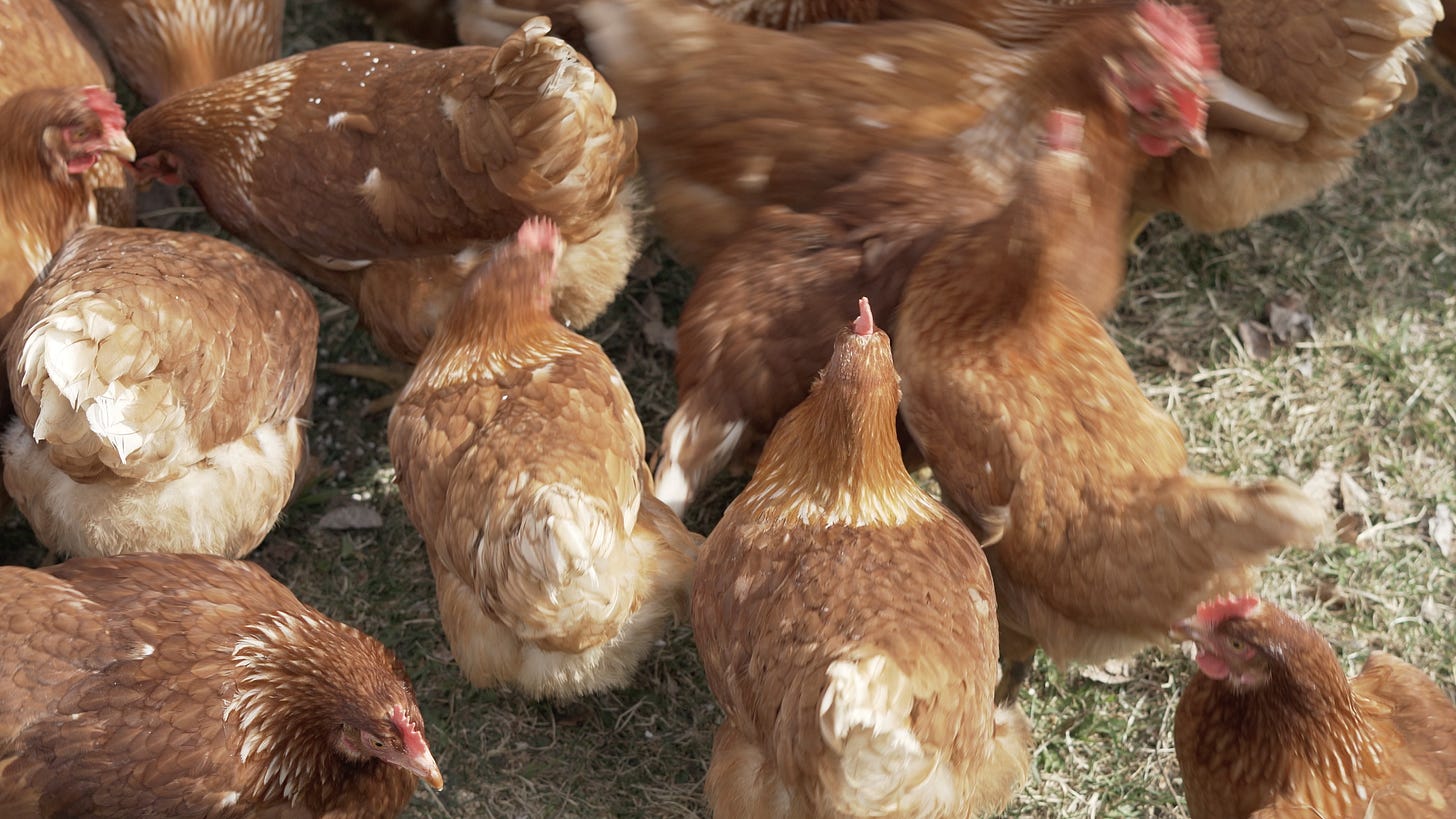
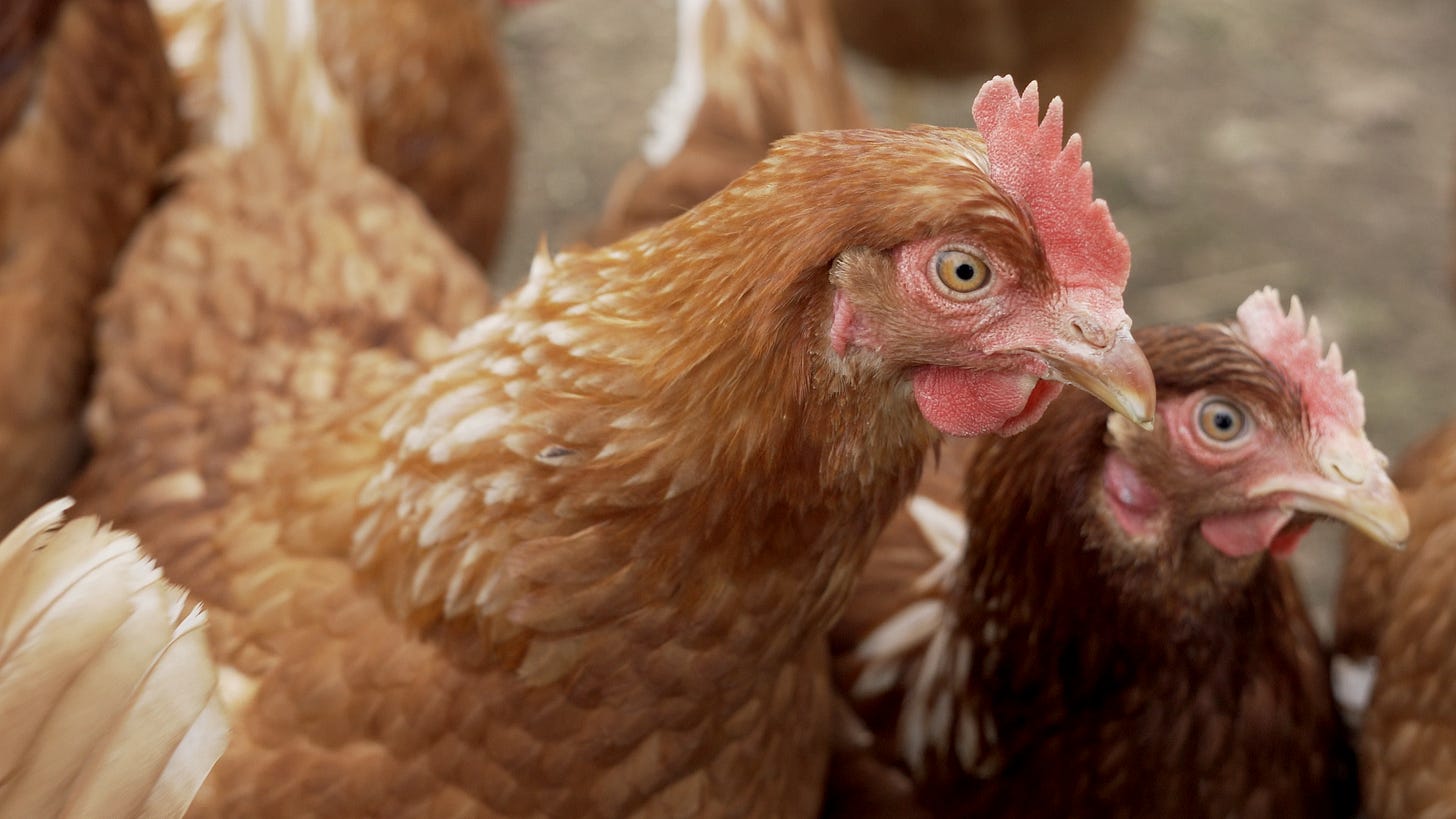 *Happy chickens living their best lives in the great outdoors.*
In April 2022 I found myself taking care of hundreds of chickens.
Alone.
For four days.
I also filmed the entire process, which I still have to edit together – the photos in this essay are from that footage.
I started learning about regenerative farming in 2021 – it’s a planet-saving farming style that puts carbon in the earth and treats animals with dignity and respect. I switched to exclusively buying regeneratively farmed beef, chicken, and egg products. Regenerative products are quite a bit more expensive than industrial and organic products, which means overall I am eating less meat, chicken, and eggs than before. I’ve been focusing more on vegetables and legumes for most of my diet.
Regenerative farming doesn’t have a strict or regulated definition. Farming has a huge spectrum of activities and techniques. Conventional industrial farming is a land-intensive, chemical intensive approach that can often be cruel to the animals and farmers – while depleting the soil, reducing how much water can be stored, and adding tremendous amounts of greenhouse gasses to the atmosphere.
Regenerative farming, conceptually, is a set of practices and philosophies that aim to rebuild soil by integrating animals with rotational pasture, crops, and forestry. Regenerative farming takes a multi-stakeholder approach: where the animals, the environment, the farmers, society, and profits all have a voice.
Animal welfare and environmental welfare generally come first on regenerative farms.
I met Eliana and Andrew Witchell, owners of Provenance Farms, from buying their chicken, eggs, and now turkey from. A few months into buying directly from them, they posted on Instagram that they needed a farm sitter while they went to the Toronto Food and Drink show last year.
 *Andrew and Eliana Witchell, owners of Provenance Farm.*
Not knowing what I was signing up for, I volunteered. Somehow they said yes.
And this is how I came to spend four days alone working on a chicken farm.
I learned firsthand the difference between marketing slogans and reality when it comes to farming. I learned so much about the different ways we can raise animals, the ways animals can be beneficial for our environment, and what’s really behind organic, regenerative, and animal welfare certifications.
This week I am going to share my day-in-the-life chicken farming experience.
Is it like Stardew Valley?
Did I get chicken poo in my hair?
Do chickens purr like cats?
(Yes to all).
A day in the life of a regenerative chicken farm
I always knew that farming was hard work. I never appreciated how much until Eliana sent me a Google doc checklist of everything I needed to do each day on the farm.
Converting it into Apple Notes for me to check off, there are three full screens of to-do’s before 9:00am.
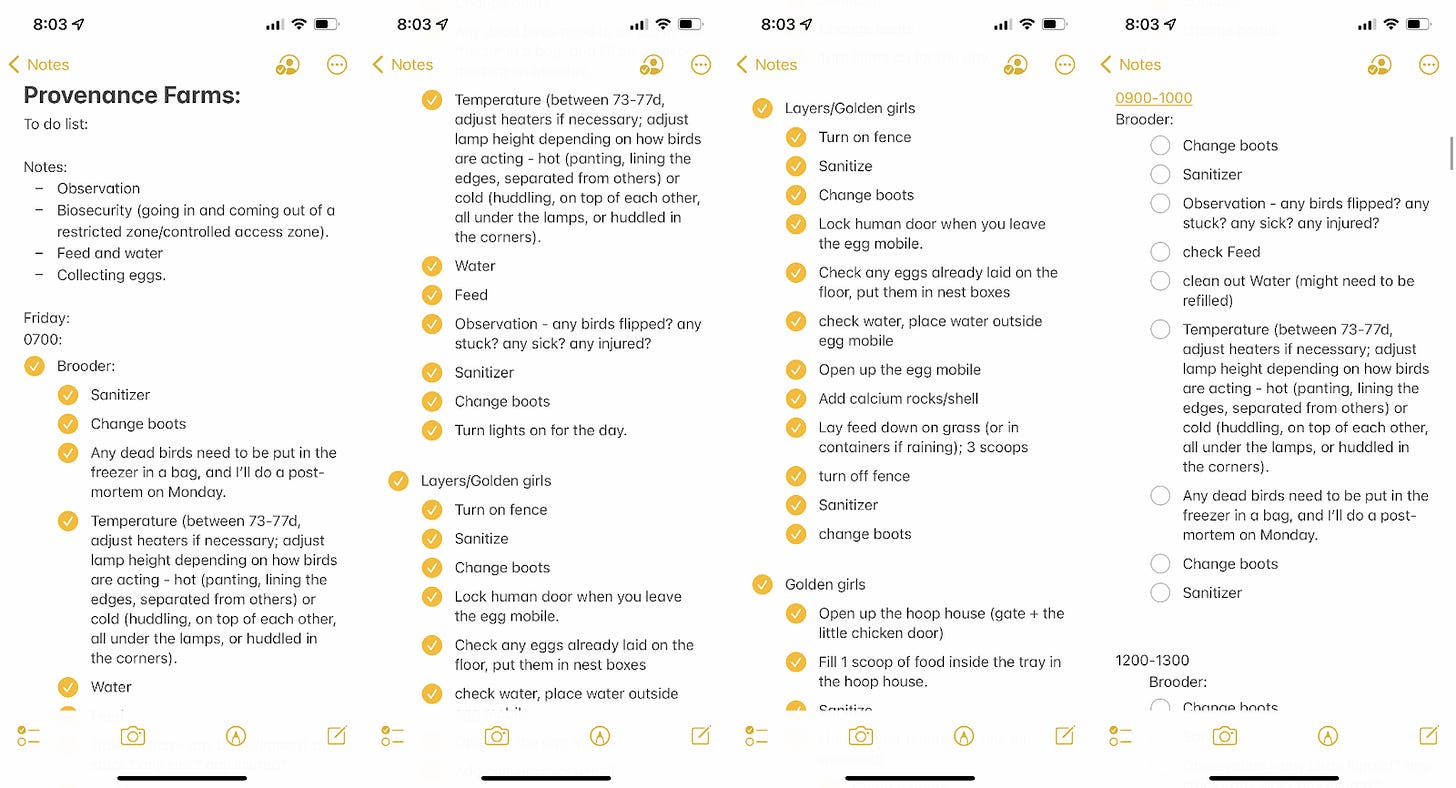 Since this is a regenerative farm, working towards organic and animal welfare certifications there is a lot of additional physical, manual labour and documentation that isn’t required in a conventional farm.
Provenance Farms has egg laying hens, roasters, baby chicks to grow into both, and in the summer/fall they raise turkeys.
Sunrise
Every day at sunrise, the first task is to move the outdoor chickens to new pasture. I would head to the garage for the electric golf cart, drive down to the chickens, disconnect and disassemble the solar electric fence, hitch the mobile coop – the eggmobile – to the golf cart, move the chickens a few meters to their new piece of pasture, set-up the electric fence again, and let the chickens out for the day.
 This is the eggmobile, it’s a mobile coop for the egg-laying chickens. Inside there are roosts for the chickens to nest, an egg catcher, and a gate to let the chickens out during the day (and secure the chickens at night). The chickens naturally come out during the day and head inside at sunset.
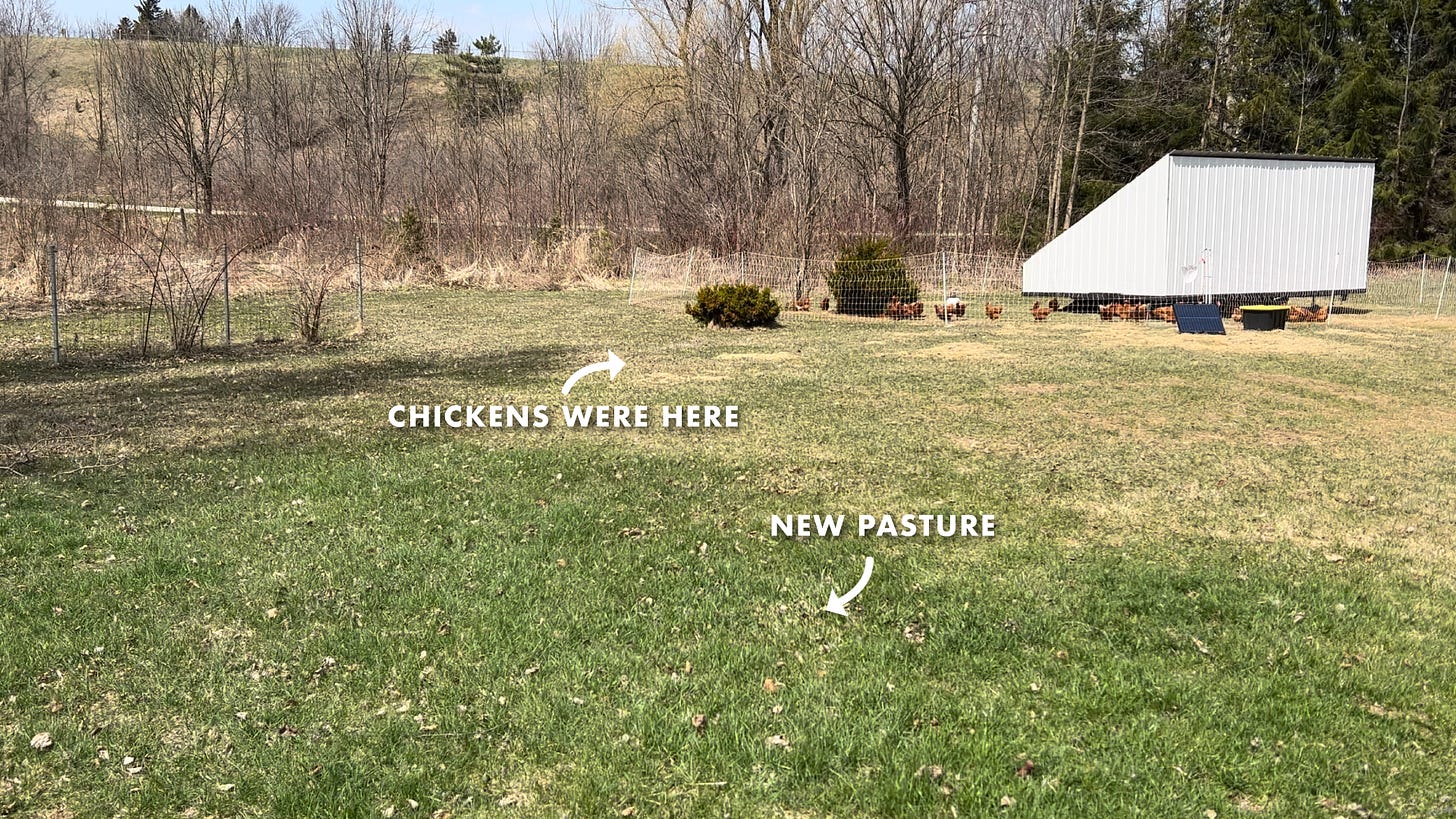 The egg mobile is moved to a new location every day.
In just 1-2 days the chickens will peck down the pasture as they dig through the grasses for bugs and worms to eat, as well as to gather feed. The egg laying chickens have organic feed and calcium supplementing their diet. The chicken poop fertilizes the soil, and by pecking/trimming the grass it encourages deeper root development of the pasture. If the chickens were to remain in one location the ammonia in their poop would burn through the root system and kill the pasture.
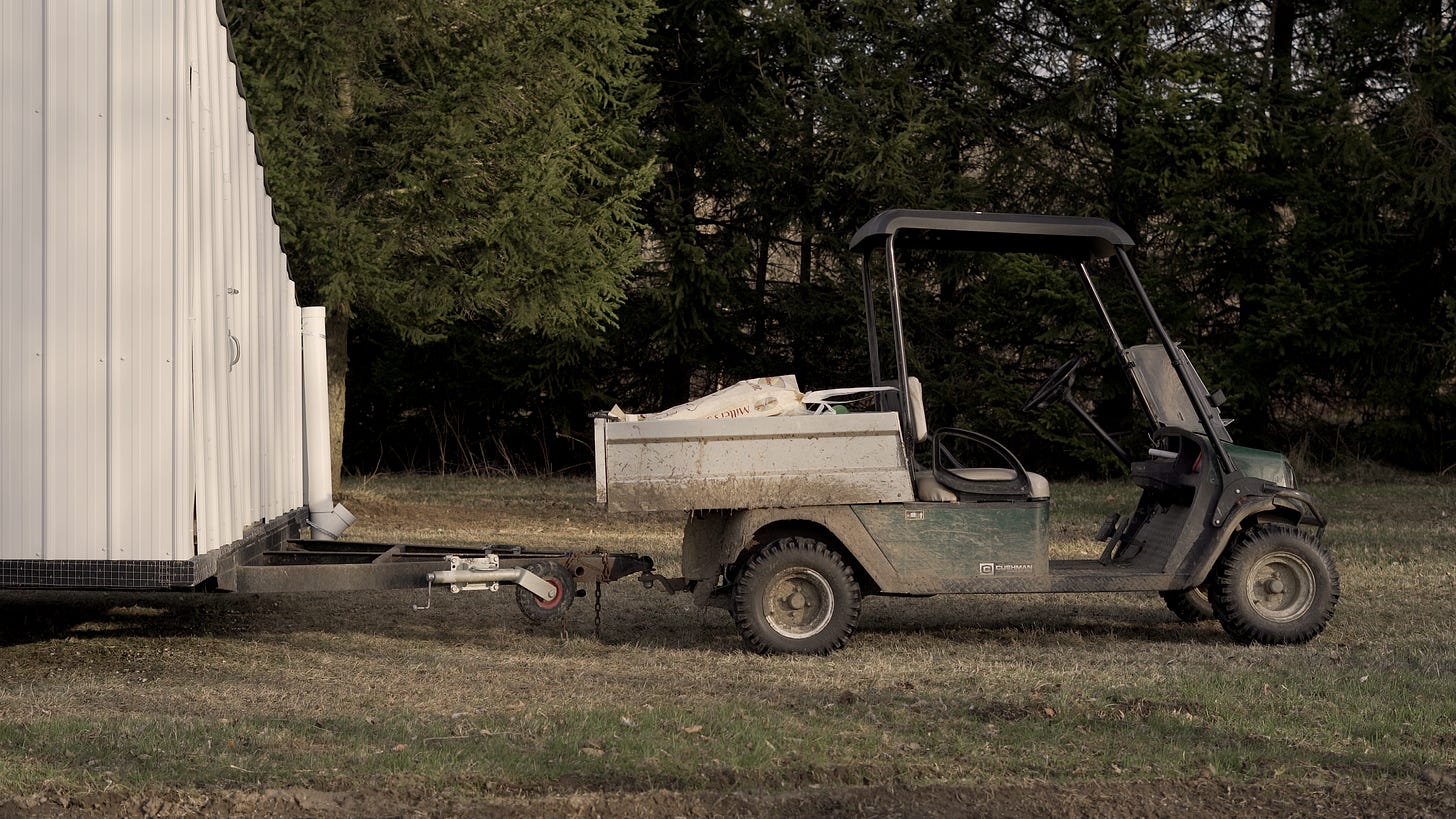 The eggmobile is moved to fresh pasture every morning with an electric golf cart. The chickens are moved at sunrise, before they wake up and are let out of the eggmobile.
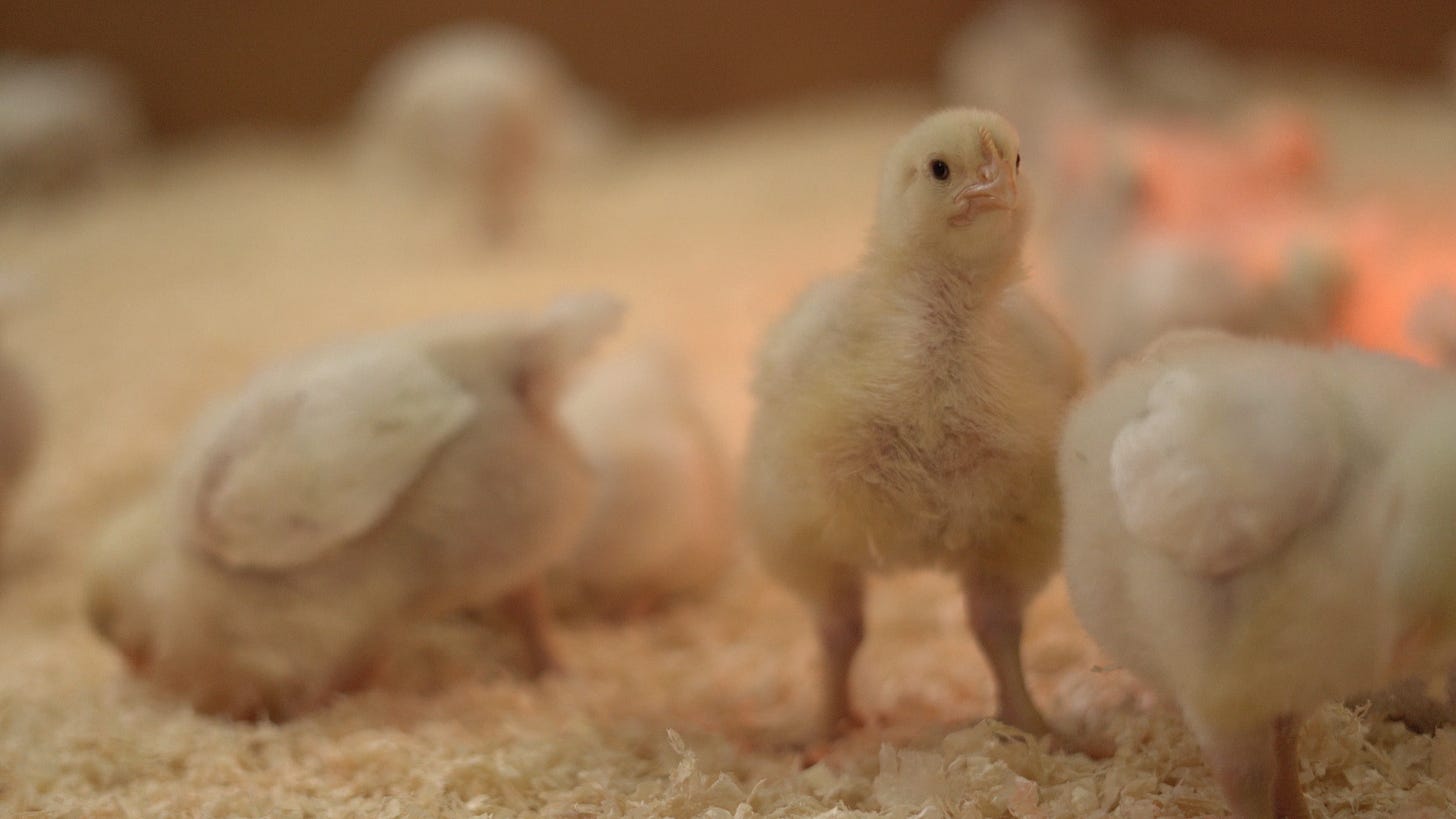
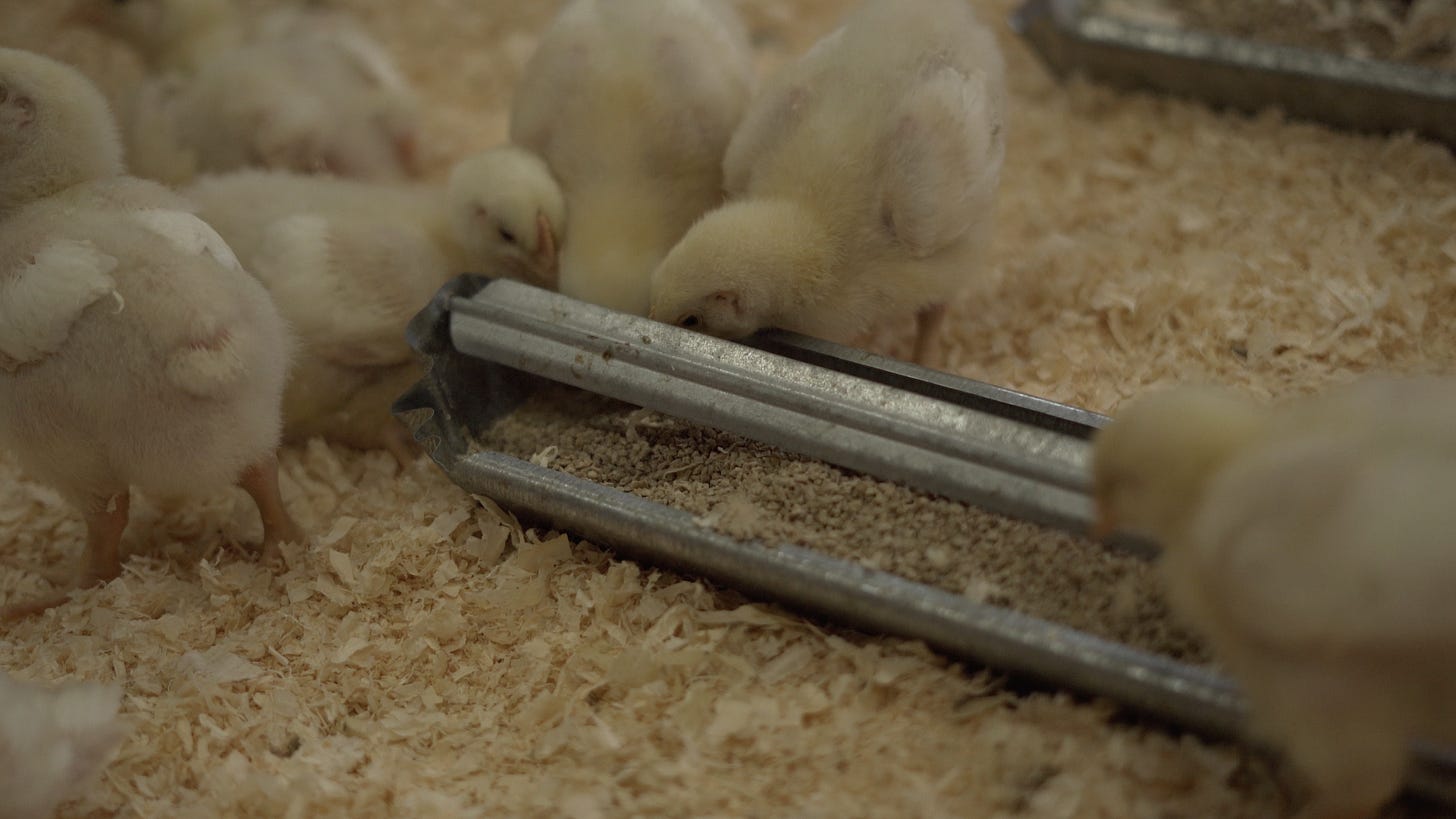
After getting the chickens settled in their new home it was time to check on the baby chicks – they live in a controlled environment, monitored for temperature and air quality, in a building called the brooder.
 ### Every 2 hours in the brooder
Depending on the time of year, the baby chicks spend different amounts of time indoors until they can regulate their own temperature outside.
When I was at the farm the chicks were around 10 days old, so I had to check on them every 2 hours for the following:
- Check to ensure that the water tanks are full, clean, and easily accessible – and refill them if needed
- Check to ensure that the feed trays were full, clean, and easily accessible
- Check the temperature of the chicks to ensure they aren’t overheating or under heating
- Check the temperature of the heat lamps and adjust them as needed
- Check the indoor air quality for CO2 buildup and adjust the ventilation as needed
- Monitor all the chicks for behaviour, such as panting or lack of movement. Some baby chicks suffer from omphalitis which happens at the hatchery due to bacteria on the shell. When symptoms present, you need to separate the sick chick and/or euthanize it to prevent suffering.
- Document everything for each check-in in an Airtable form, including photos of the air quality and temperature checks, the brooder as a whole
- If a new feed bag is opened, add a photo of the serial number to the Airtable
… every 2 hours, from 6:30am until 9:30pm.
Due to avian flu being a global concern when I was at the farm, there were additional safety precautions – such as changing and sanitizing footwear and sanitizing your hands whenever moving between each group of chickens. The risk is due to migrating geese bringing avian flu, as well as external vendors carrying it in on their car – such as when delivering feed. So I also had to sanitize every 2 hours.
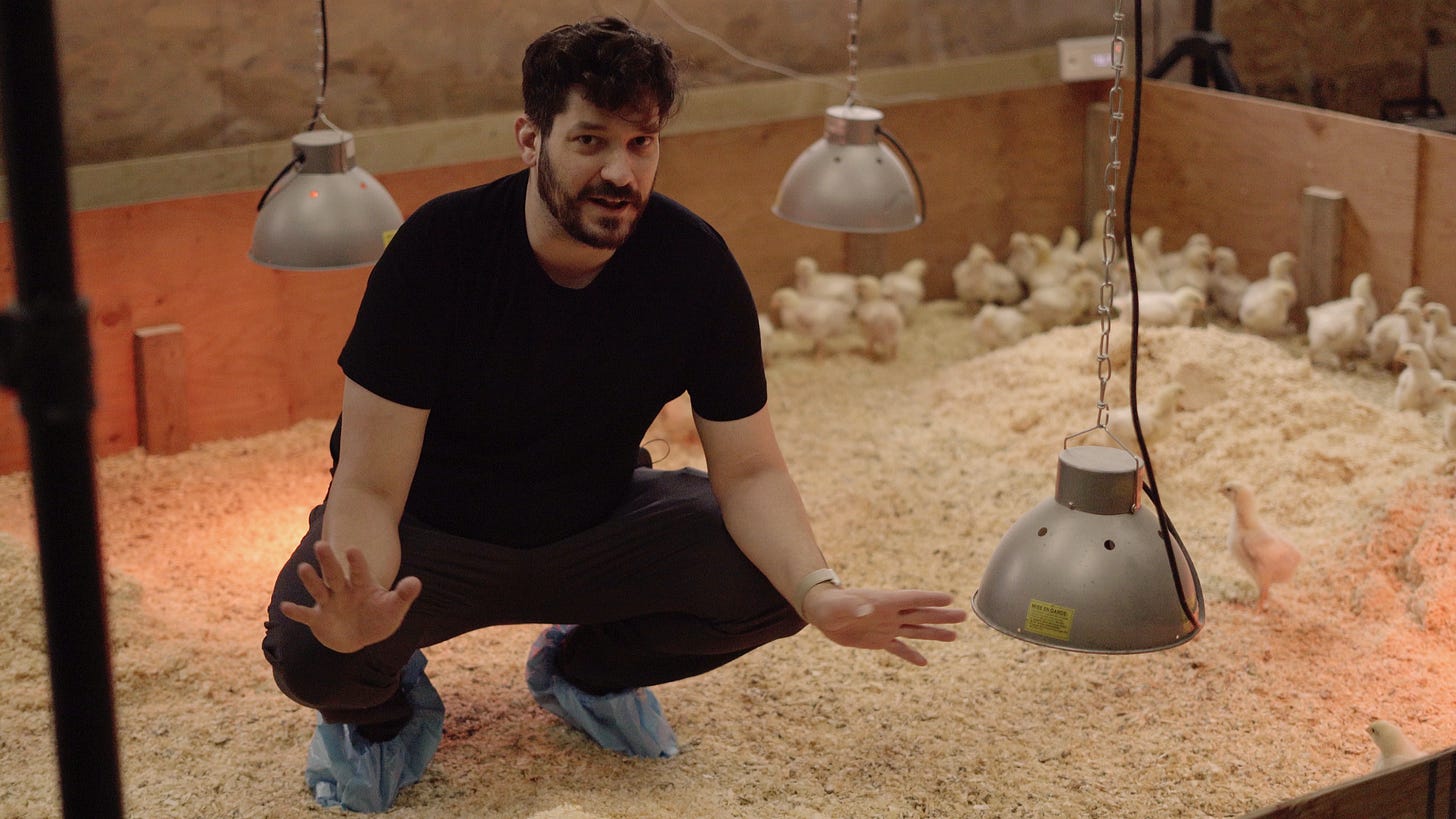 *Me, very tired in the brooder, wearing booties, laying down new shavings.*
Every third day the shavings needed to be changed to ensure a clean environment for the chicks, which required me to don some safety equipment (like booties) to keep the environment clean – and spread the shavings by hand amongst the chicks.
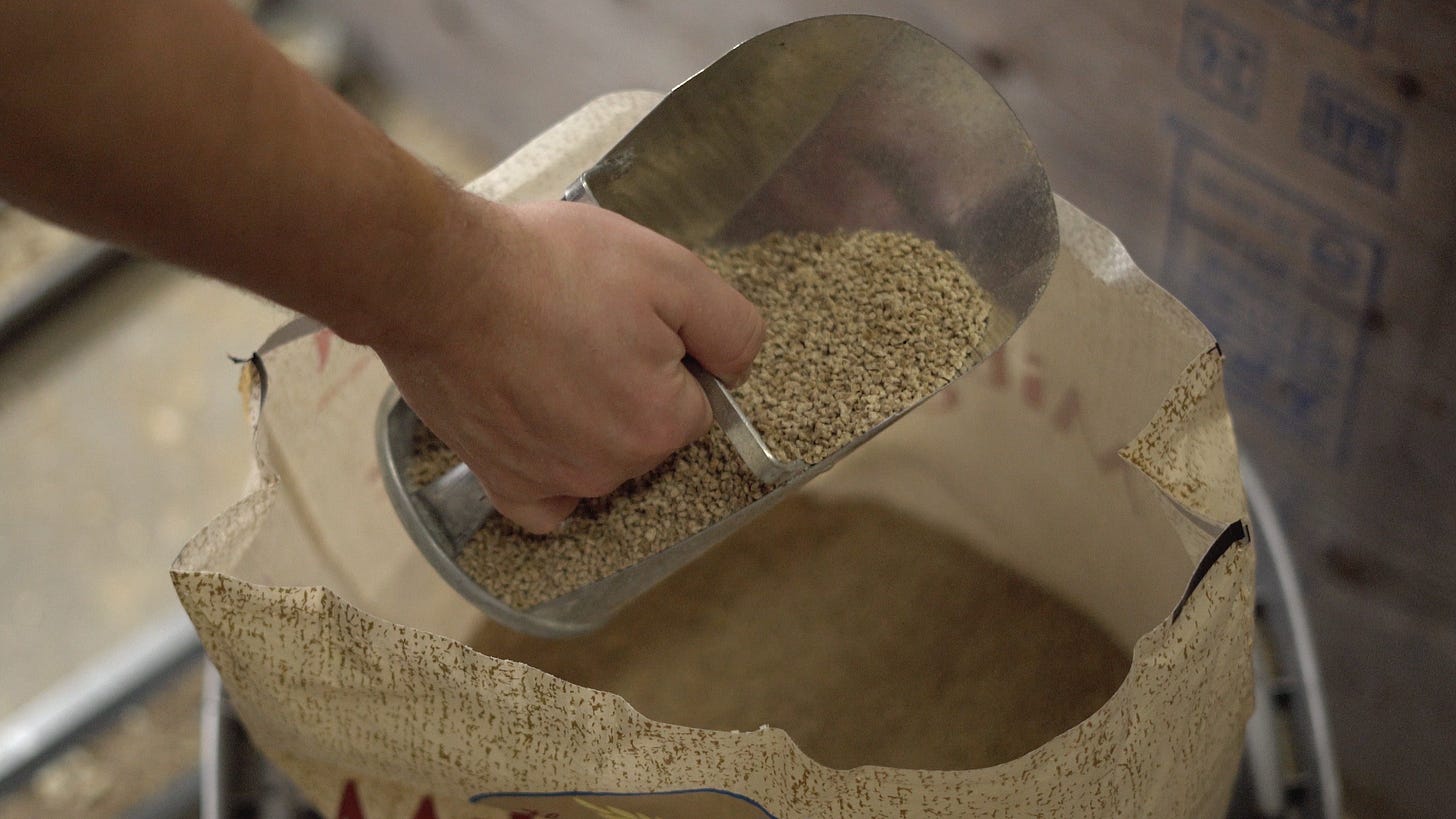 As part of the organic certification process everything must be documented. Each feed bag has a serial number which is photographed and uploaded into a documentation system for auditing by organic certification agencies. Andrew has built this into a smart system using Airtable which snapshots the data. He has also used systems for automatic data capture for environmental metrics – like capturing temperature and air quality inside the brooder using smart sensors.
Morning feed for the outdoor chickens
After checking on the brooder it was time to feed the outdoor chickens. While they can feed themselves through critters, the food supplements their diet. Calcium is also added to help ensure the egg-laying hens have enough to form strong shells.
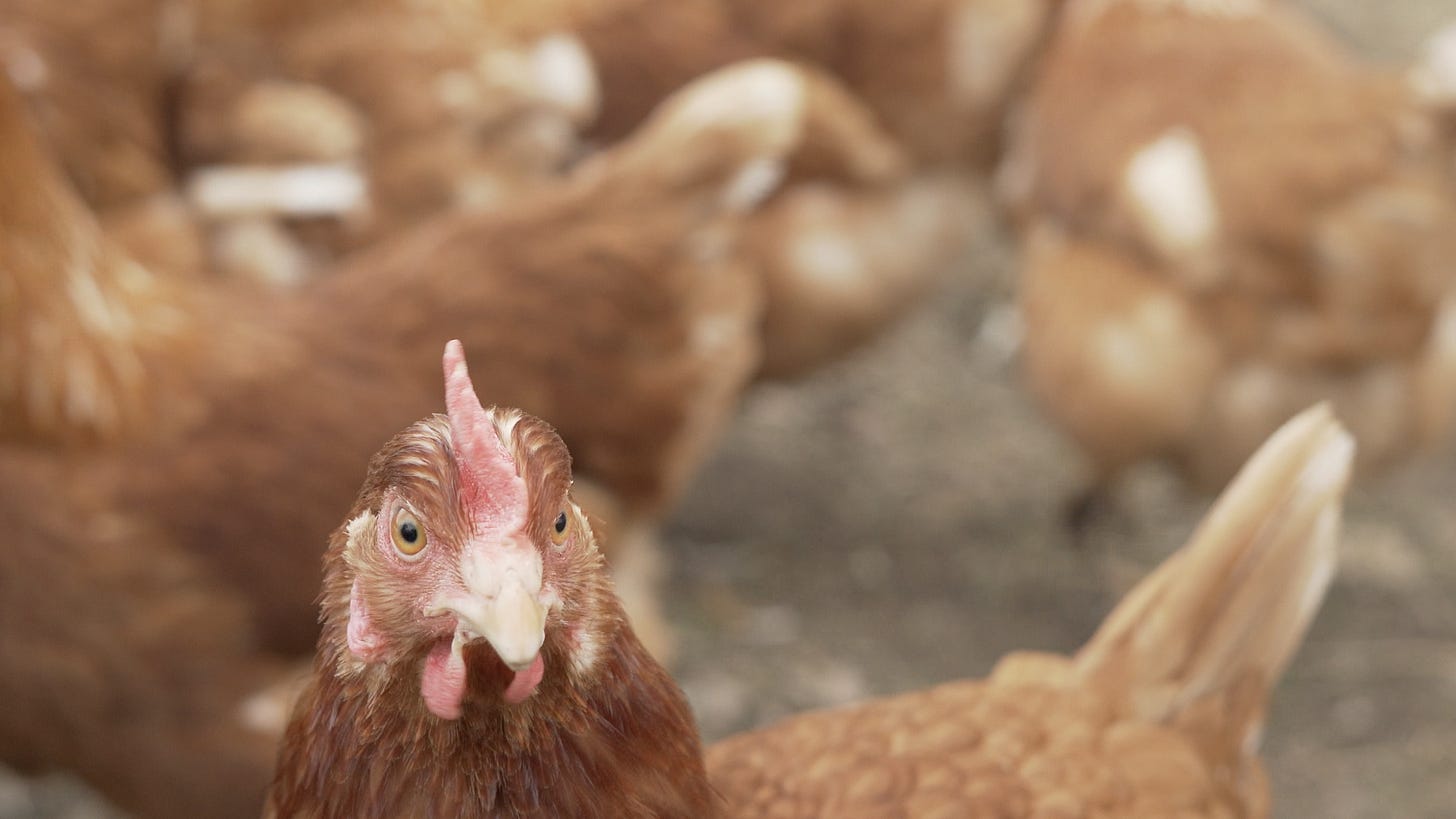
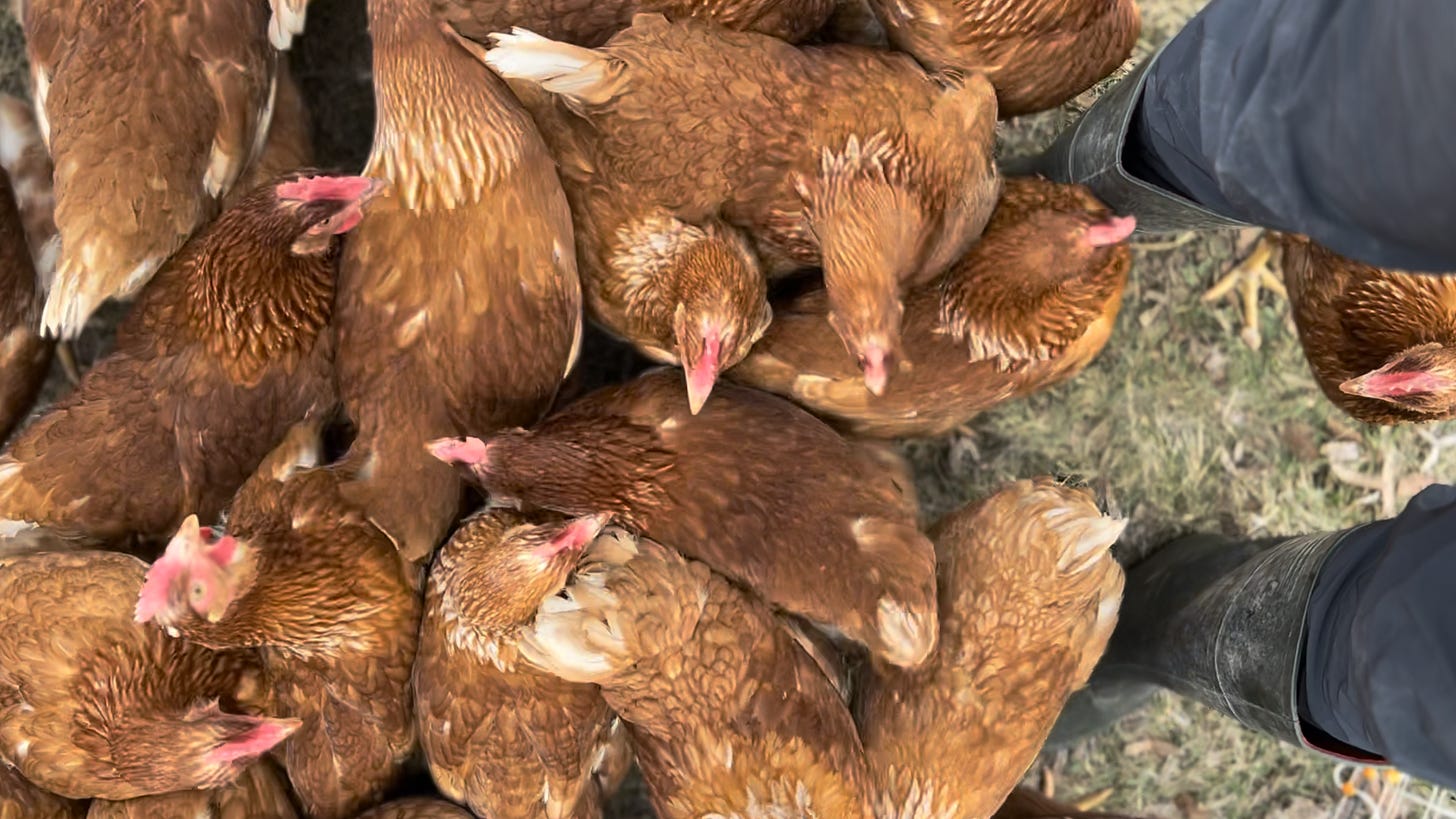 *The chickens love to follow you around, they make very pleasing noises and peck at your boots which feels really weird.*
 ### The afternoon
Sam – the guard dog – is fed around lunch. He gets a treat of a chicken egg, incentivizing him to protect the flock so he gets snacks. Sam goes for a nice long walk around the grounds, scaring off the geese and their avian flu, while I monitored for changes around the pond, forest, and pasture.

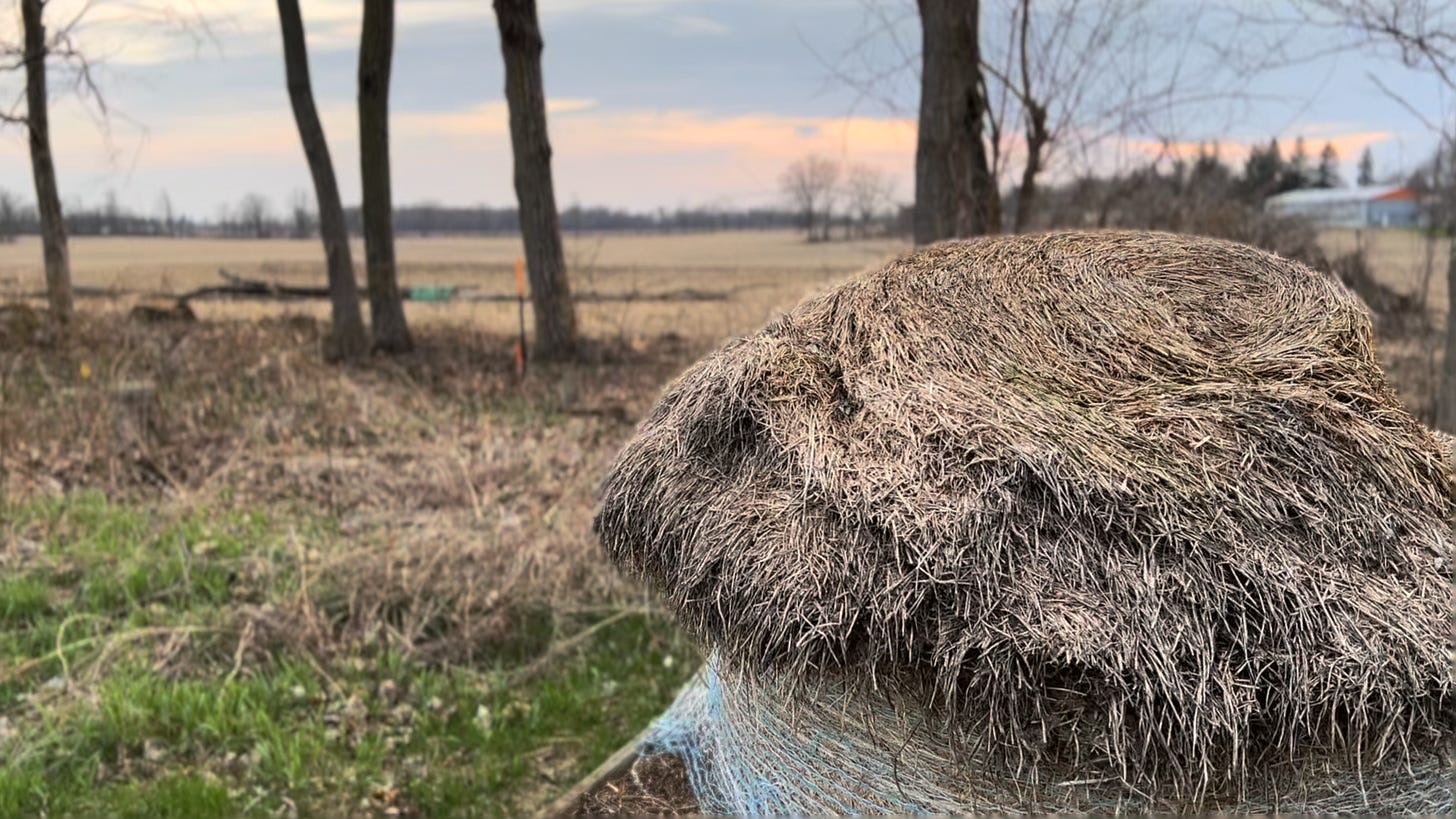 In the afternoon it’s time to collect eggs – so into the eggmobile I went. Inside there is a roost for the chickens to prop themselves while they lay eggs. The eggs then roll safely down into a collection chamber. Each eggmobile holds around 100 chickens, so a good day would yield 90 eggs.
It’s pretty tough in there for a tall person like me, so I definitely had chicken poop in my hair and had to squat on the mesh inside to reach eggs that fell behind the catcher. It was a difficult job. It didn’t smell, since it’s open air and the chickens get to spend most of their day outdoors.
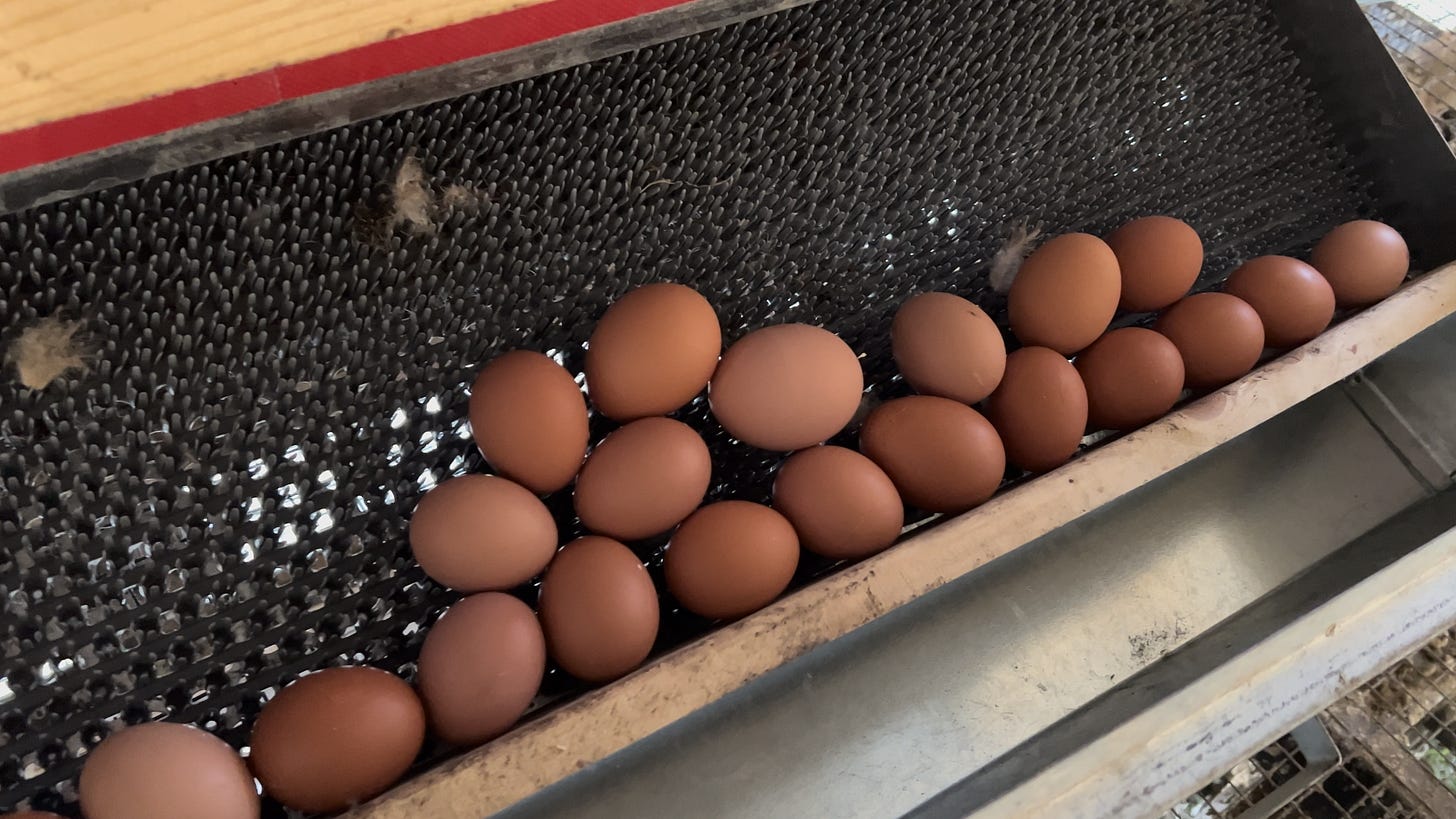 The eggs are collected in reusable, sanitized crates and stored in fridges until they are taken for grading and washing before distribution.
The rest of the afternoon is focused on the brooder until sunset.
Sunset and final checks
The chickens are completely free to be outside for the whole day. They can be inside if they so choose, but there’s nothing keeping them there. At sunset the chickens all naturally go into their coops, it’s part of their core behaviour to hide from predatory animals.
 The roasters – chickens raised for meat – spend their time out in the field and naturally head into their shelter at sunset, and come back outside at sunrise. The shelter is on wheels, surrounded by solar/battery powered electric fence to keep predators out. The fence is rolled up and re-assembled every day with each new pasture the chickens move to.
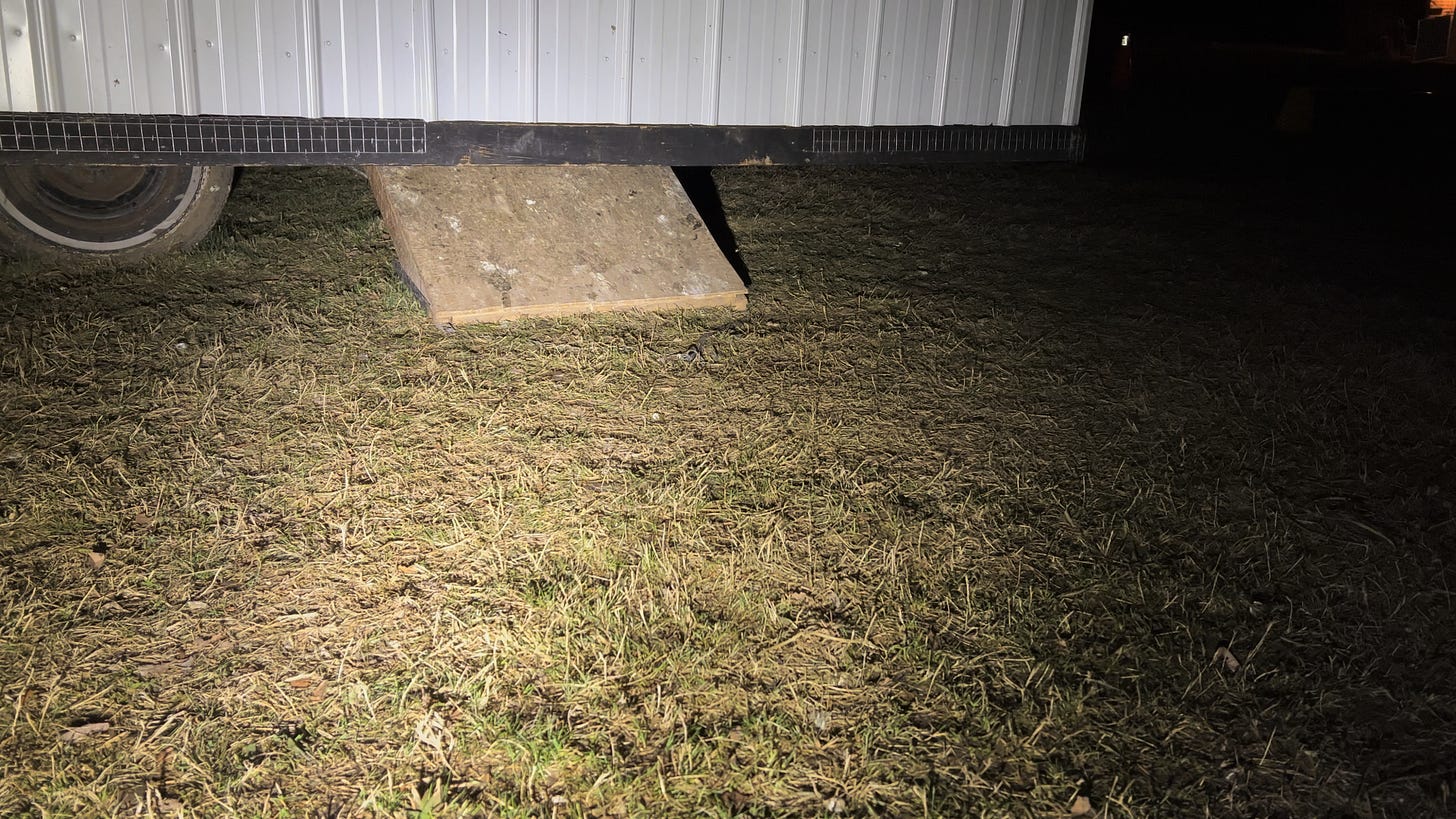 For the eggmobile, the door needs to be closed to keep predators out overnight and ensure all the chickens are still inside for their move to new pasture in the morning.
The last check for the brooder happens around 9:30pm. Walking through the farm at night with a flashlight. Alone. Putting the chickens away after dark can be a harrowing task with only a flashlight to see by.
And after 15 hours of work the day is over.
To be repeated. Every day.
 ### The future of farming is hard work
This type of farming is very hard work – but it puts the animals and the environment first. And with the right revenue, the farmers have a sustainable life too.
I learned a tremendous amount while working on the farm – such as the huge amount of physical labour required to create sustainable living conditions for farmers and animals and the planet.
Next week I’m going to dive deeper into regenerative farming and what it means for you as a consumer at the store, and as a constituent in politics.
But Now that you have purchased some regeneratively farmed chicken and eggs, what can you make to really showcase the beauty of the chickens?
Recipes
 *It’s not a great photo, but it’s the beautiful, rich, deeply flavoured chicken both outlined below. Keeping the skin on onion helps get the deep colour.*
Poached chicken soup and bone broth
Most of the time when I order chicken from Provenance Farms it comes frozen. Buying frozen, whole chicken is very economical – especially since they often sell 3 birds for the price of 2! But often I will forget to thaw a chicken, which has led me to a new technique – poaching chicken from frozen.
This might sound like boiling chicken, which is a big no-no, but I promise you it is different.
Here’s what you do:
- Place your whole, frozen chicken into a large stock pot
- Fill the stock pot with water, enough to cover the chicken
- Bring it up to a boil and skim the foam – this is protein and removing it helps create a clear broth
- Once the foaming slows down, reduce to a gentle simmer
- Add an onion (cut in half, peel on – the peel will help deepen the colour of the broth), 2 carrots cut in half (washed, peel on), 3 celery stalks, a head of garlic sliced in half across the equator (peel on), a bay leaf, 1 tbsp dried thyme or rosemary, and a generous amount of salt
- Simmer for around 90 minutes, it will depend on the size of your chicken.
- If you have a digital thermometer, check the temperature and remove it around 160F in the thickest part of the leg and in the breast. It will get up to 165 through carry-over cooking. If you don’t have a thermometer, remove when the meat is white/opaque and the juices run clear. Do not overcook.
- Remove the chicken to a plate and allow it to cool for 20-minutes
- Remove the skin from the chicken and return the skin to the pot
- Remove the meat from the bones and return the bones to the pot – when you cook chicken from frozen, regardless of how cooked it is, there may be some red marks that look like blood around the bones and joints. This isn’t blood, it’s a pigment from inside the bone and its natural in frozen chicken.
Now you have two poached chicken breasts, which should be very moist and flavourful. You can slice these up for salads, sandwiches, and more. I then shred the dark meat to save for soup.
Continue to cook the broth for another 3 hours, up to 8 hours. Collagen breaks down after 4 hours of cooking time, which will give you a very thick, glossy stock that’s deep in flavour. When it cools it will be thick like jello.
Allow the broth to cool fully. The fastest and safest way to do this is to fill your sink with ice and place the stock pot inside. You can also leave it to cool, covered, overnight on the stove.
After the broth is cool you can store it in the fridge for up to 5 days, or in the freezer in vacuum sealed bags for up to a year.
The world’s greatest chicken soup
I don’t have a photo of the chicken soup, I forgot to bring my camera and it was a gift. I put a lot of care into this recipe, making it for a man I’m dating – he was recovering from surgery and declared this to be the best chicken soup he has ever had. Credit to the chickens.
- 100g chopped pancetta (or 3 tbsp olive oil)
- 2 carrots, diced
- 1 onion, diced
- 2 celery stalks, diced
- 2 cloves of garlic, finely chopped or grated
- 4–6 cups chicken broth
- 1 tbsp dried thyme
- 1–2 cups shredded chicken
- Salt and pepper to aste
- Optionally, 1/2 cup tiny little pasta
Heat a 3-1/2 quart or larger pot on medium heat and add the pancetta. Cook until the pancetta releases its fat and is very golden and crispy, around 10 minutes. Remove the pancetta and save for serving.
Add the carrots, onion, celery, and garlic. Cook, stirring often, until soft – around 20 minutes.
Add the broth and herbs and bring to a boil.
If you are adding tiny little pasta, add to the pot and boil for the appropriate cooking time to your pasta. Then added the shredded meat, simmer until the meat is heated all the way through.
Serve topped with crispy pancetta.
 *Depending on your oven, the texture may not come out exactly the same as Starbucks – but in a sous-vide they will be perfect every time.*
Sous-Vide Egg Bites
- 12 US Large Eggs
- 5 pieces cooked bacon
- 200g of Gruyère, grated
- 450g ricotta or cottage cheese
- Salt and pepper
Cook your bacon. Chop the bacon, set aside. I like to cook the bacon by placing it in a 13x9 baking dish a cold oven, turn the oven on at 425°F, and remove it after 20–25 minutes.
Add all of the eggs, 150g of Gruyère and ricotta to a blender. Blend for 30–60 seconds, until very smooth, then tap it on the counter to knock out the air bubbles.
Set silicone molds on a baking sheet, then fill your molds 2/3 of the way up. If you’re using the same size as I am (see note below) this makes 24 egg bites.
Add some bacon and remaining Gruyère to each egg bite.
Method 1 – water bath in a standard oven:
Set one oven rack on the lowest shelf and another in the middle. Place a 1/4 sheet tray on the lower shelf (or the floor of your oven), then pour water into it.
Pre-heat your oven to 275°F. The water tray should be creating steam in the oven. Add your baking sheet with egg bites molds to the center rack.
Cook for 20–25 minutes, until egg bites are set. Remove from the oven. Egg yolks set in a custard texture at 165°F, they become dry and spongy above 180°F. Be careful when opening the oven as steam can burn you easily.
If there is water remaining in your 1/4 sheet tray, allow it to cool fully before removing it. You will burn yourself if you don’t.
Method 2 – a steam oven:
If you have a steam oven (I have a Miele DGC, or countertop like the Anova Precision Oven). Sous vide at 166°F for 35 minutes. Allow to cool, then unmold.
Method 3 – water-bath sous-vide:
If you have a sous-vide, like an Anova or Joule, you need to use glass jars (125ml | 4oz mason jars) that are greased. Sous-vide at 166°F for 35 minutes. Allow to cool, then use an offset spatula to help release from the jars.
Storing and reheating:
Store in a container in the fridge for up to 5 days, or freeze (thaw overnight in fridge).
To eat, place a few egg bites on a 1/4 sheet tray under the broiler (top rack). Broil for 3–5 minutes until the top has some golden brown and egg bites are warm.
On molds:
I use a silicone mold for egg bites which helps the release with a nice shape. They will stick in a metal muffin tin. I hate the jar method. I use “HomEdge 12-cup silicone muffin mold” the dimensions of each slot are 2.56” wide and 0.98” tall.
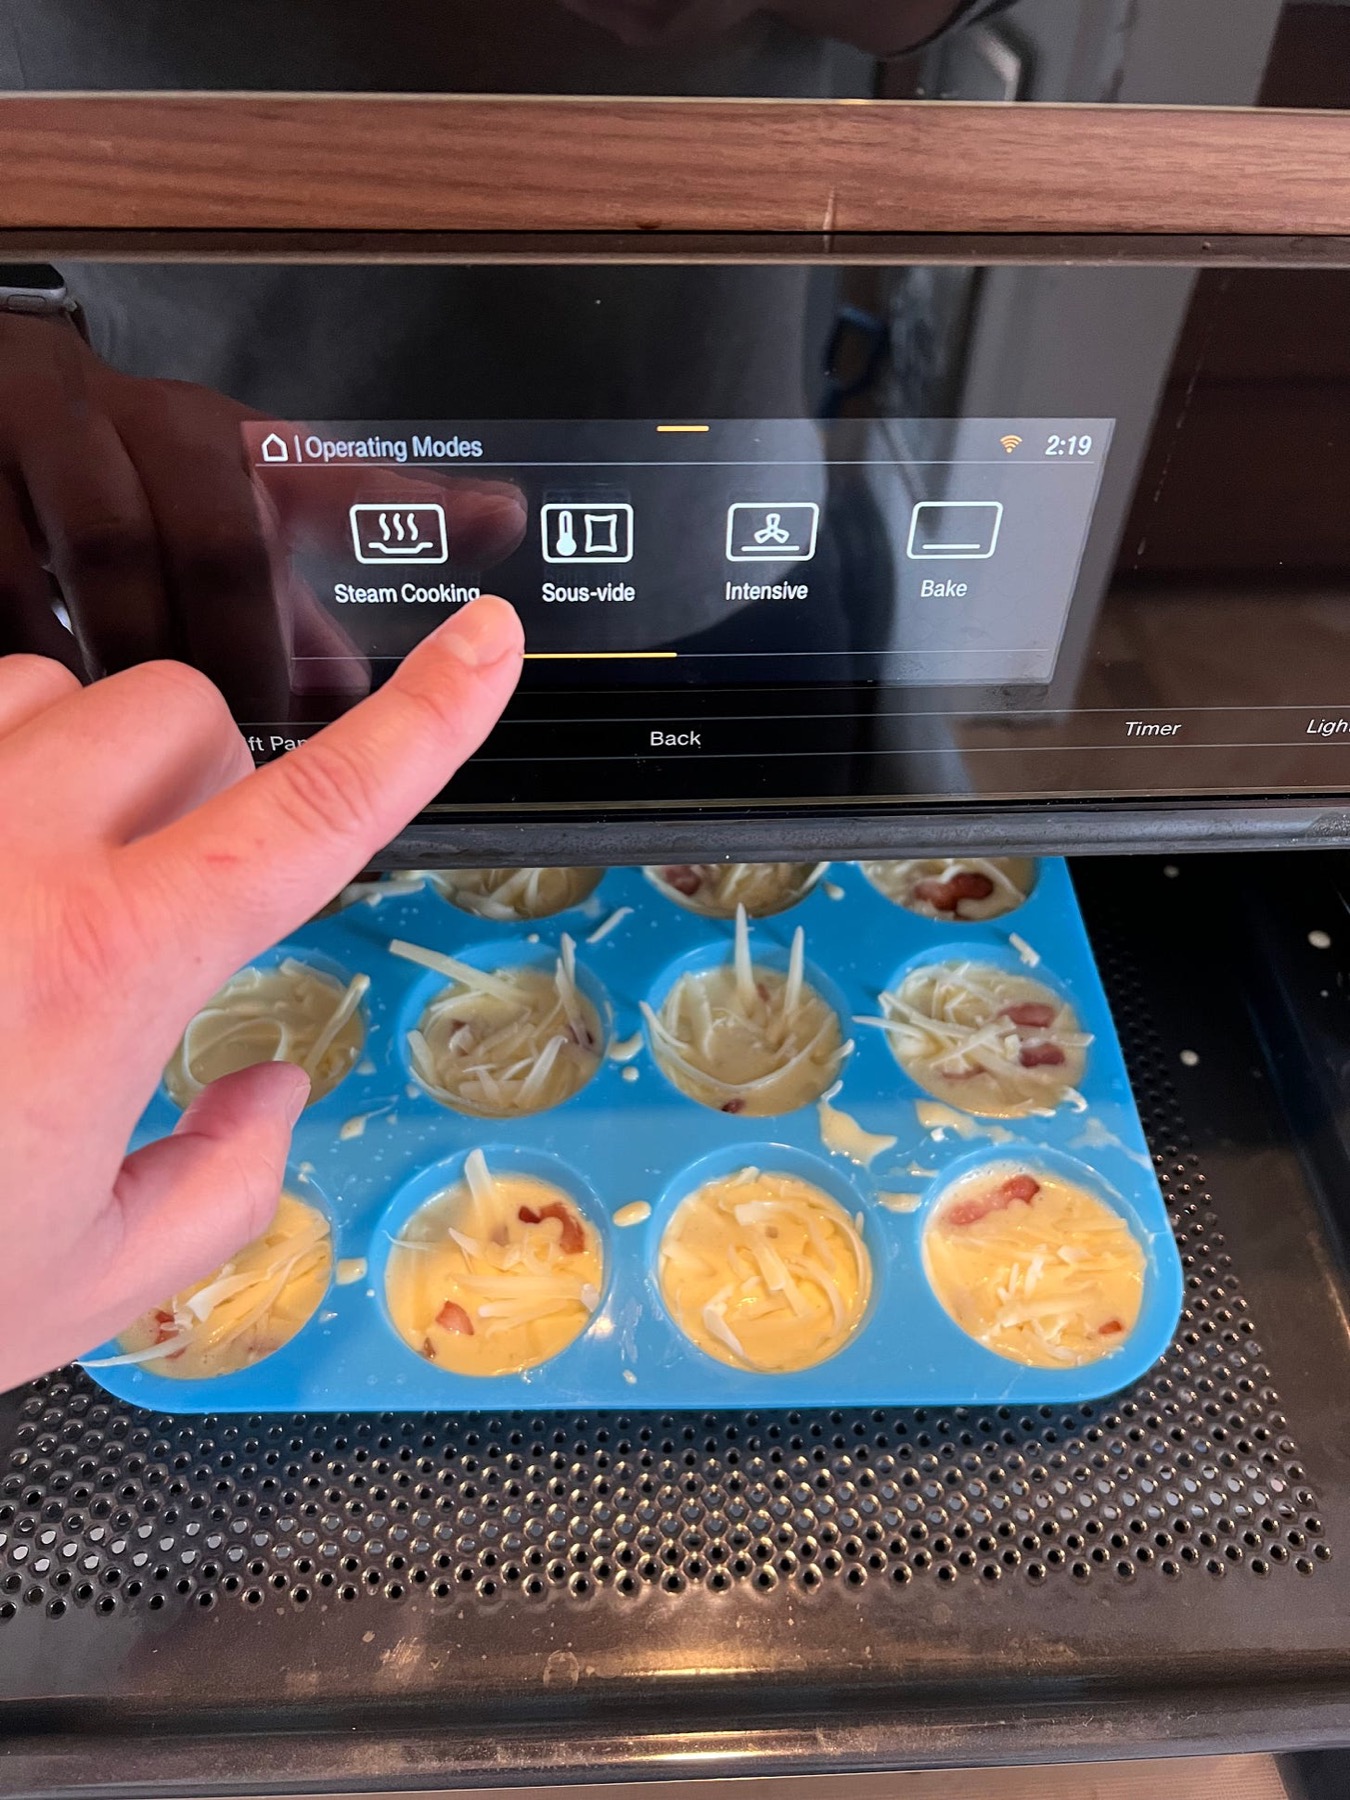 *I have a Miele Combi-Steam Oven, DGC7845AM, which is the best appliance purchase of my life. I will write about it in detail one day, if you are in the market for very, very expensive appliances it should be on your list.*
Super soft scrambled eggs that are just eggs
These ingredients create one serving, you can scale this up or down with the same techniques.
- 4 large eggs
- 1 teaspoon butter
- Pinch of salt
- White pepper to taste
Use a blender
The first technique is to use a blender. I know, you’re ready to unsubscribe right now, but hear me out.
Without getting too science-y, when you beat eggs you’re breaking the proteins so they can recombine into a mesh that traps air and water. Obviously you can do this with a fork; but with a blender its faster and better than you can do by hand.
Crack 4 eggs into your blender, blend until it looks fully uniform – about 30 seconds.
Okay, so you’re saying, Marko, I know you hate doing the dishes. How is using a blender better than using a fork and a bowl? Here’s the thing, you put hot soapy water in the blender, turn it back on, and then you rinse the blender. It is very easy. And if you have to make a lot of eggs for a lot of people it makes very fast work.
If you don’t want to use a blender, or don’t have a blender, use a fork and a sieve. The sieve will help break up the proteins as well, but it’s a slow process.
Cook Low and Slow
The mesh that you created in the first step needs to set, and the way you do that is with heat. Eggs will start setting around 140 Fahrenheit up until 160 Fahrenheit, and water boils at 2:12 Fahrenheit so you want to keep your eggs in the Goldilocks zone so as not to cause the water to boil and burst out of the mash. That is going to keep them soft and creamy and fluffy instead of tight and rubbery.
Temperature is the second way your egg proteins become a mesh. Immediate high heat causes a tight structure to the eggs. For soft eggs, you want to gently coax the eggs to thicken.
Cook at a lower temperature than you want – medium low. Use a nonstick pan and a silicon spatula.
Heat your pan for a few minutes, then add the butter – once the butter bubbles, but doesn’t foam, it’s the right temperature.
Egg whites and egg yolks thicken at different temperatures, which you can use to your advantage.
Control the Curd
The third way to manage your egg proteins is constant stirring. Stirring is moving the hot and cold parts of the eggs around so they set more or less evenly, giving you control over the final texture here.
For creamy, silky, almost pourable eggs you want to stir constantly.
For thick and fluffy curds, stir, wait, then stir again. The brief pauses allow the eggs to set up a little bit by being exposed to the heat for longer.
Take them off the heat early
Take your eggs off the heat when you think “Hmm almost!” and they’ll finish setting up through carry over cooking. If you’re making a sandwich, cook them a little bit further so they’re more likely to stay together instead of fly out of your sandwich.
And that’s it – you can modify these however you want.
Serving scrambled eggs
Scrambled eggs are like a blank canvas, they’re amazing on their own – maybe on top of some buttered rice – but you can change them to fit your mood.
Think of these three categories, look at what you have in the fridge.
What can you put IN the eggs?
Cheese, obviously. But you can pre-cook things like spinach, mushrooms, onions, bacon, tomatoes, or use things that are already melty like miso basically anything and put it in your eggs.
What can you put ON the eggs?
Cheese, obviously. But also herbs, sour cream, hot sauce, smoked salmon, salsa, blistered tomatoes…
What can you put the eggs ON?
Cheese? Make a sandwich on a baguette or english muffin. Put eggs on rice. On a tortilla. Make a stir fry. Put them on asparagus with hollandaise. Bi bim bap is amazing here.
The world is your oyster. But probably don’t put eggs on oysters?